- abstract (38)
- Aero India (4)
- Aviation (5)
- balcony (75)
- Books (1)
- Equipment (47)
- Gallery (3)
- Image Processing (16)
- Landscapes (11)
- Parakeets (65)
- Prints (1)
- Still Life (4)
- Time Capsule (65)
- Tips (18)
- Trip Reports (149)
- Workshops (10)
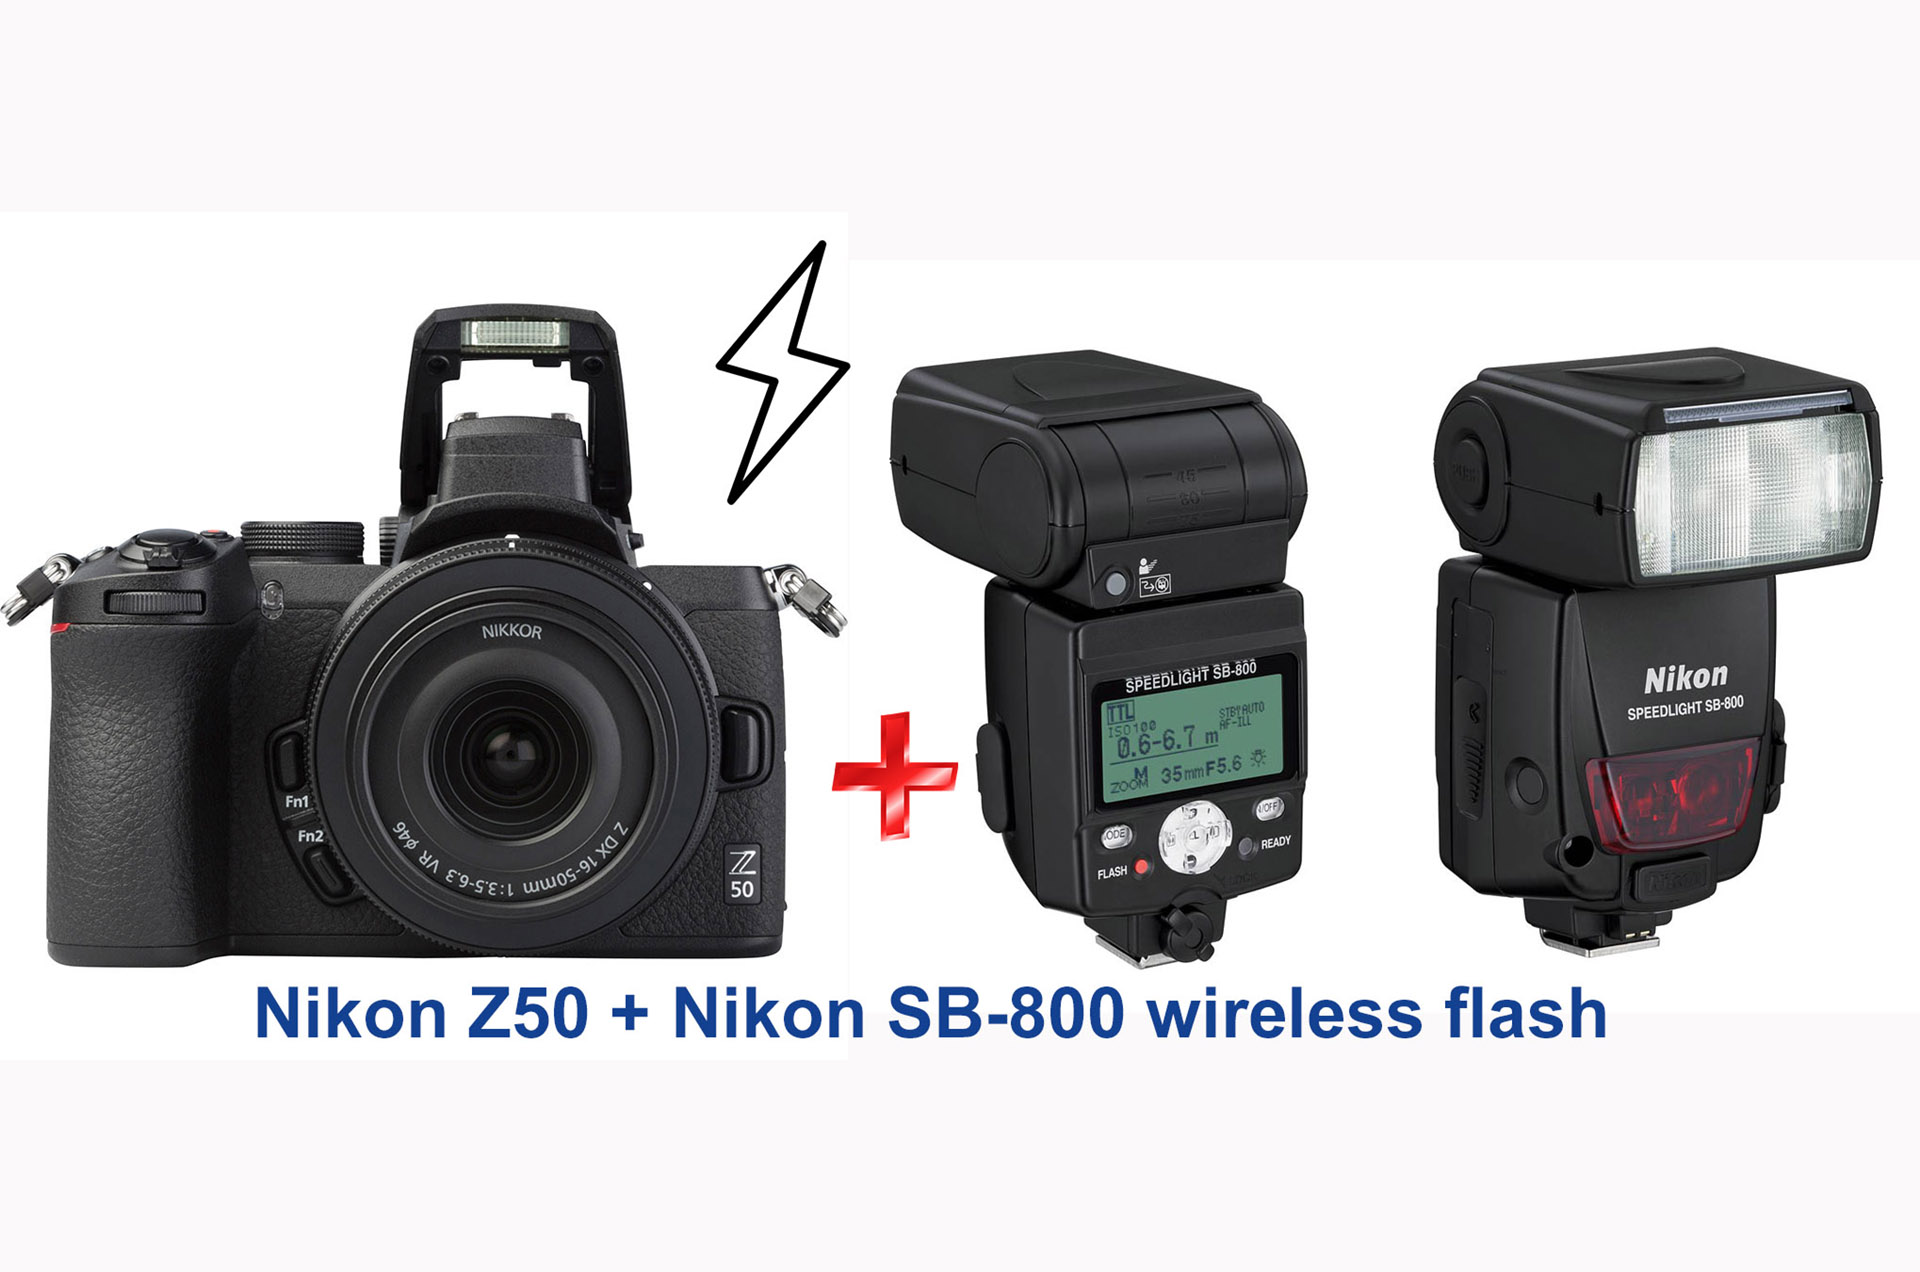
I recently tried the SB 800 speedlite flash to work wirelessly with my Nikon Z50 mirrorless. The setup is like this Pop up the flash on the Nikon Z50, Burst mode NOT on E
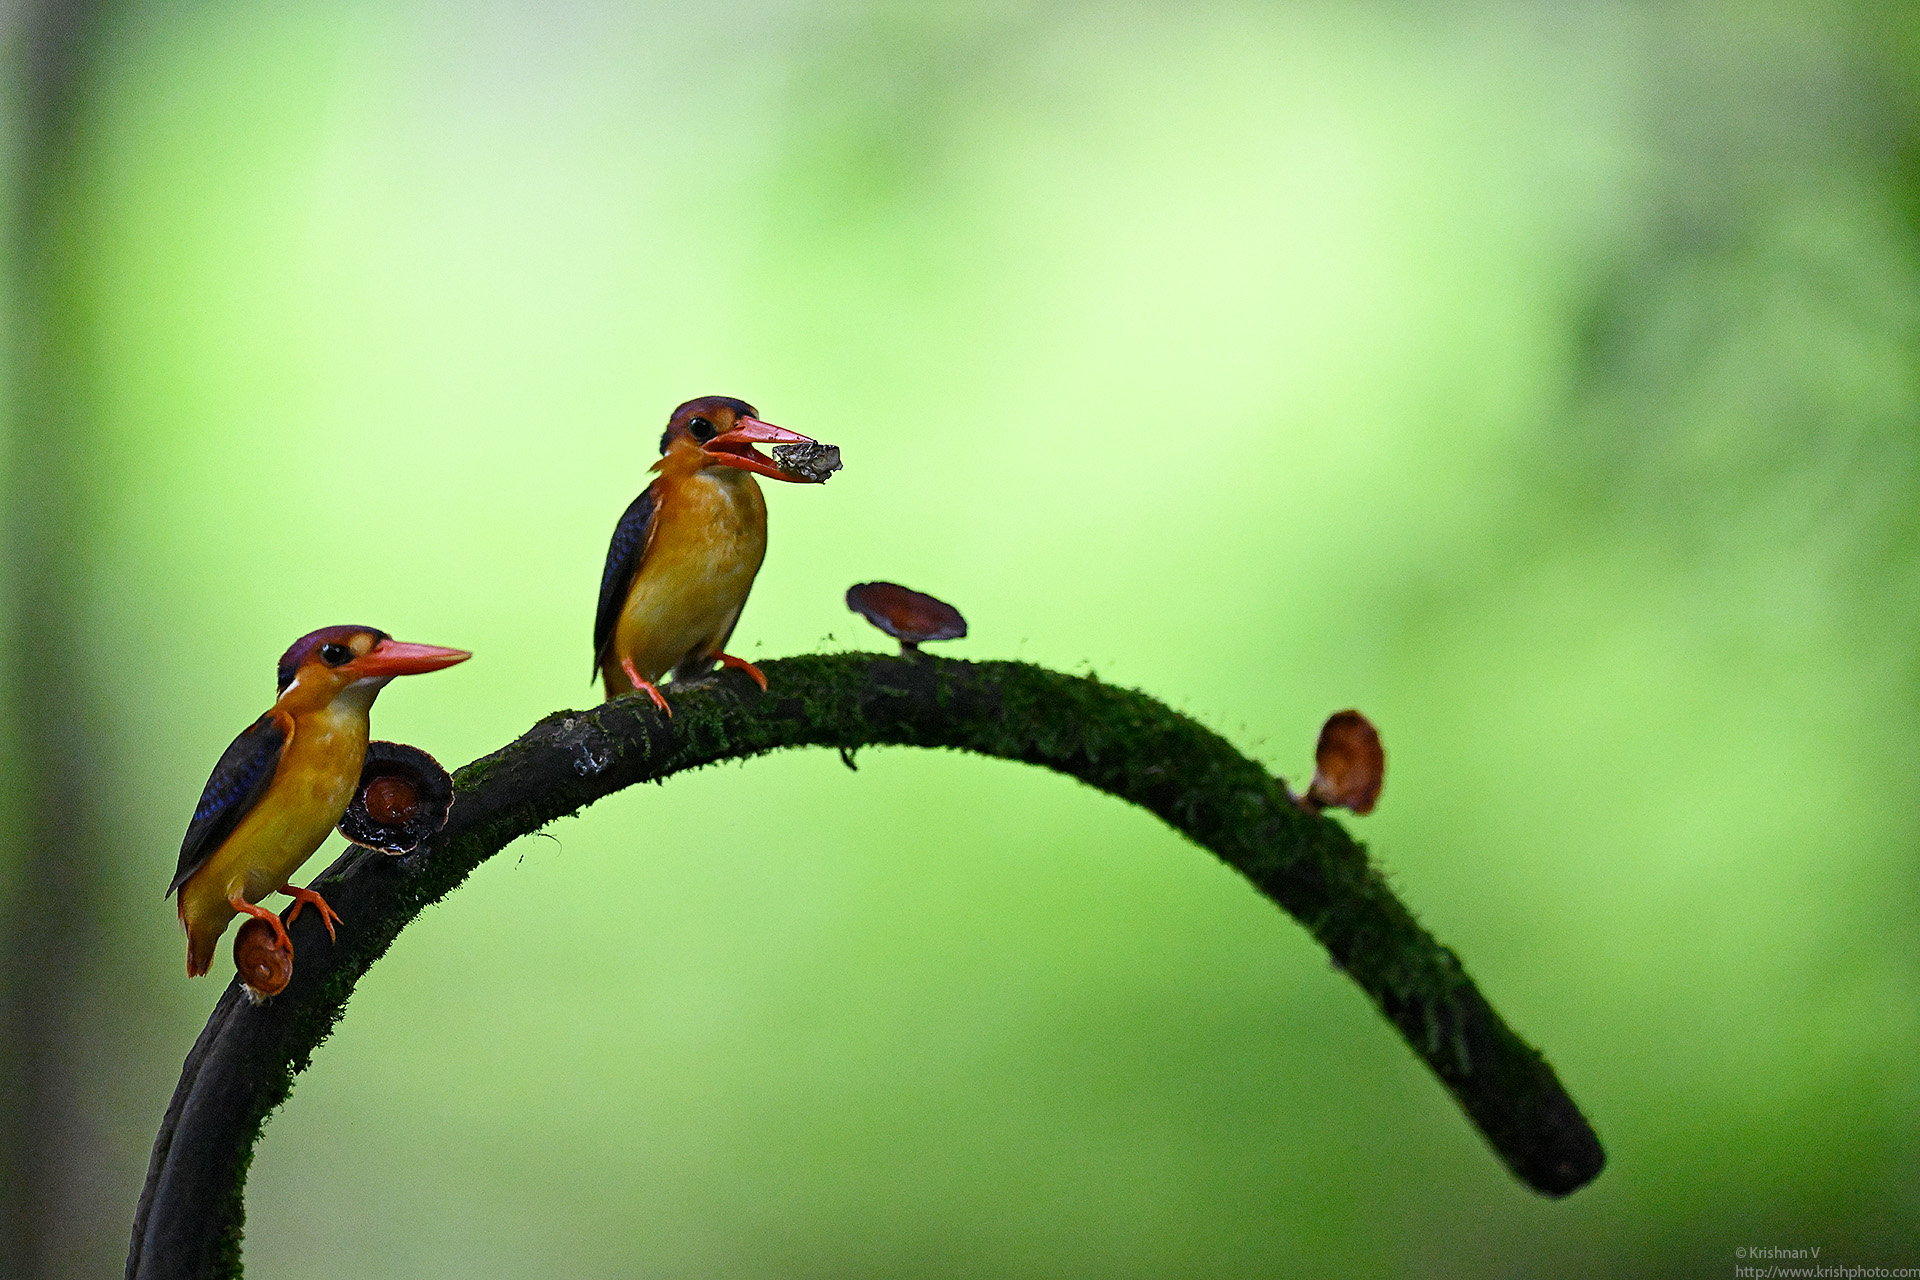
We broke a rather long hiatus of not going out chasing birds by taking a trip to Karnala to get some Oriental Dwarf Kingfisher shots. The location was a small stream and
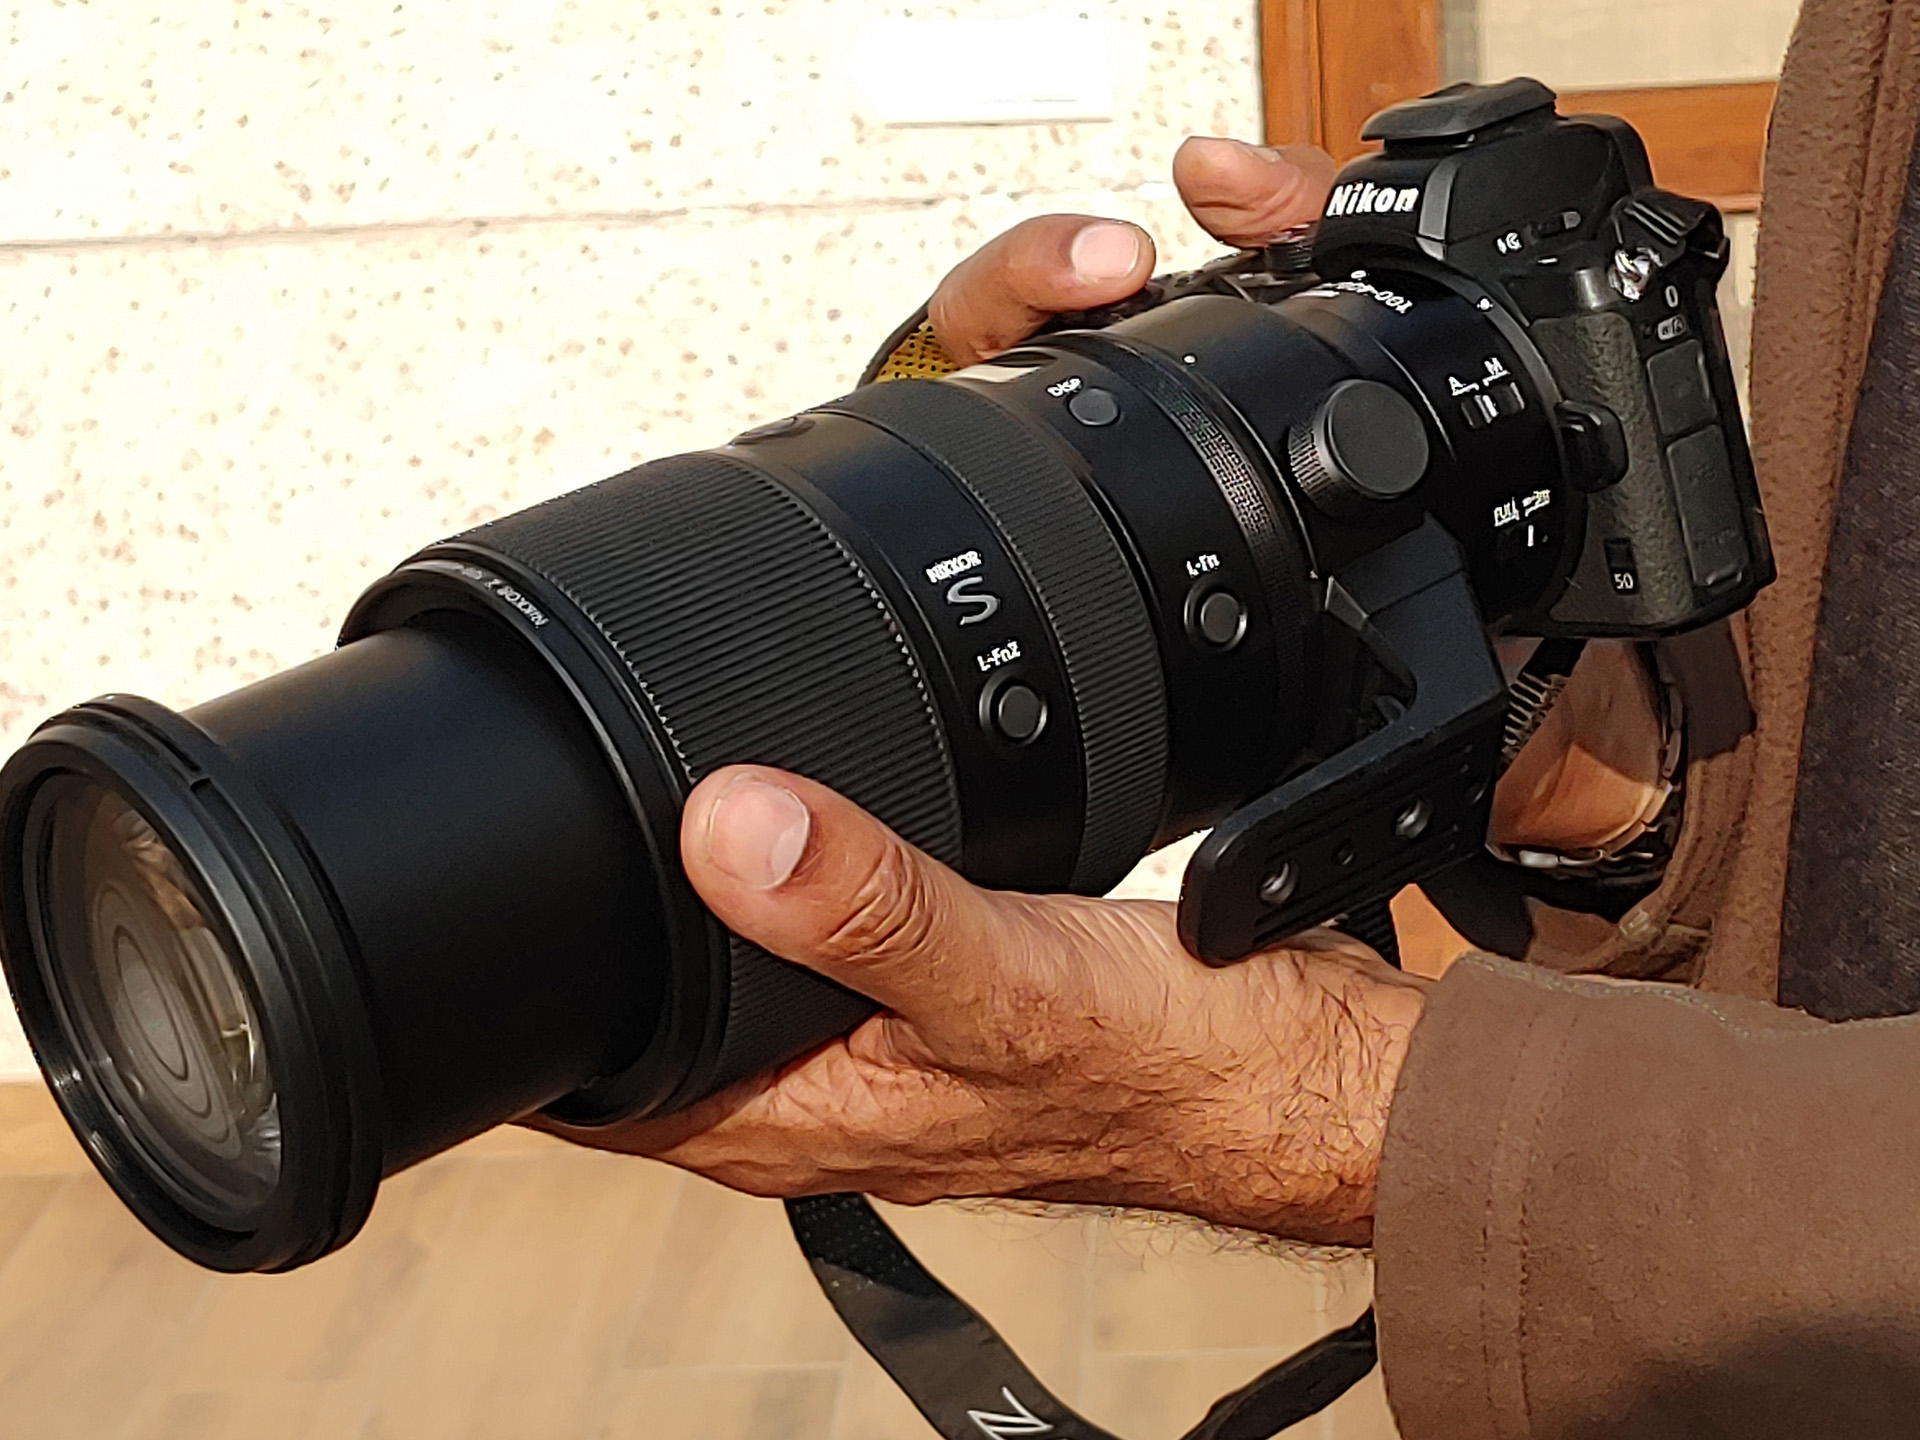
Early Dec 2022, I was on a trip to Delhi. Kishore had just ordered his Z9 and a 100-400Z lens. He was already using the old 80-400mm F lens so that was there to compare t
I have a old iconic Nikkor 500mm reflex mirror lens borrowed from a good friend sitting in my lens lens cupboard. Every time I picked lenses, I will fondly hold the lens
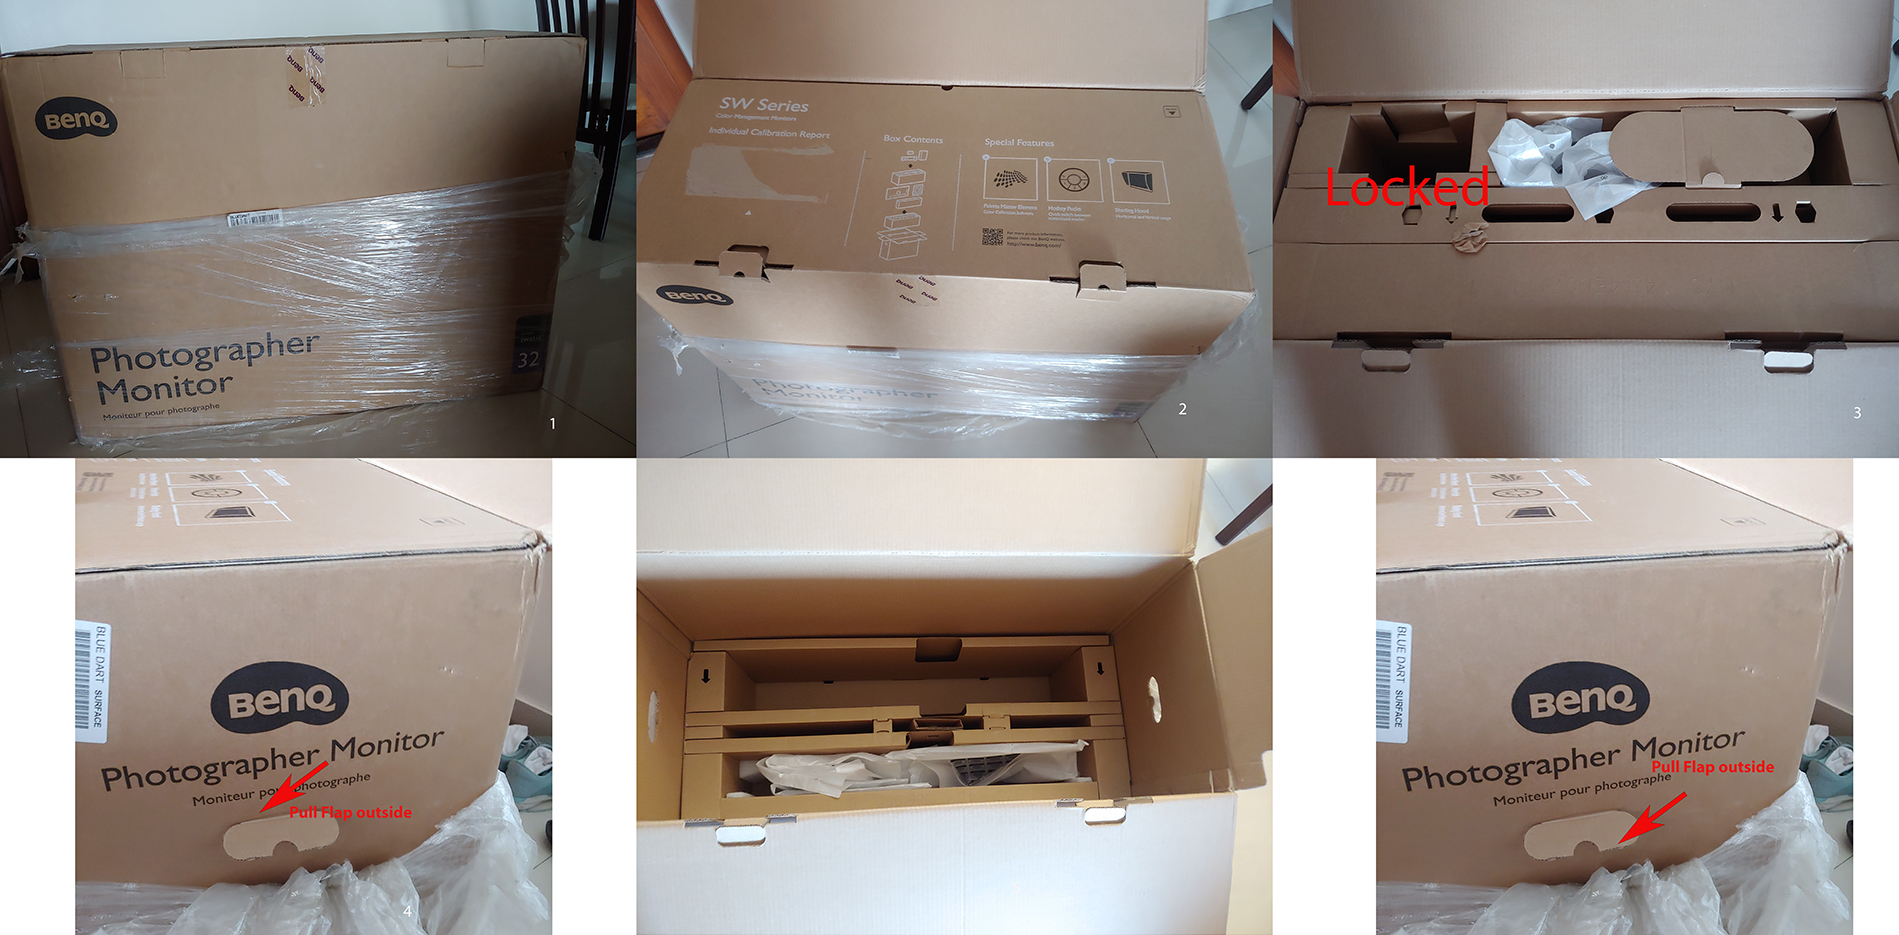
Benq Monitor unpacking unboxing
This article first appeared on Nikon Rumours website My casual shooting camera a Sony RX100 ver 1 had gone bust a few months ago. I was looking for a r

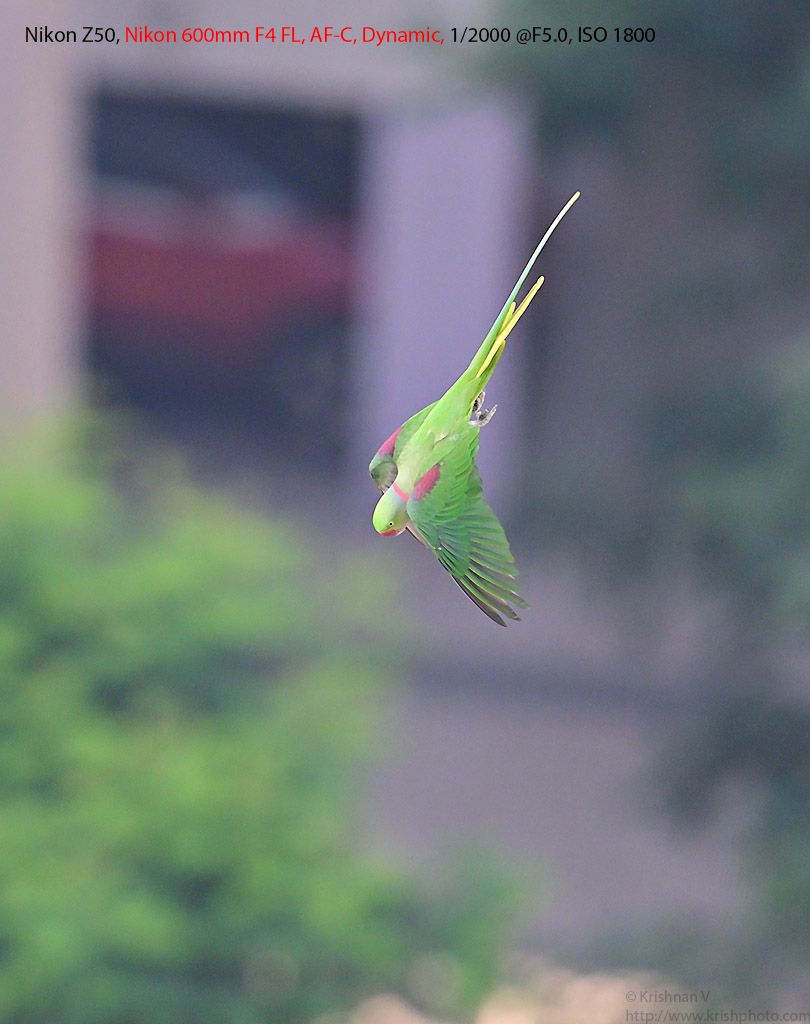
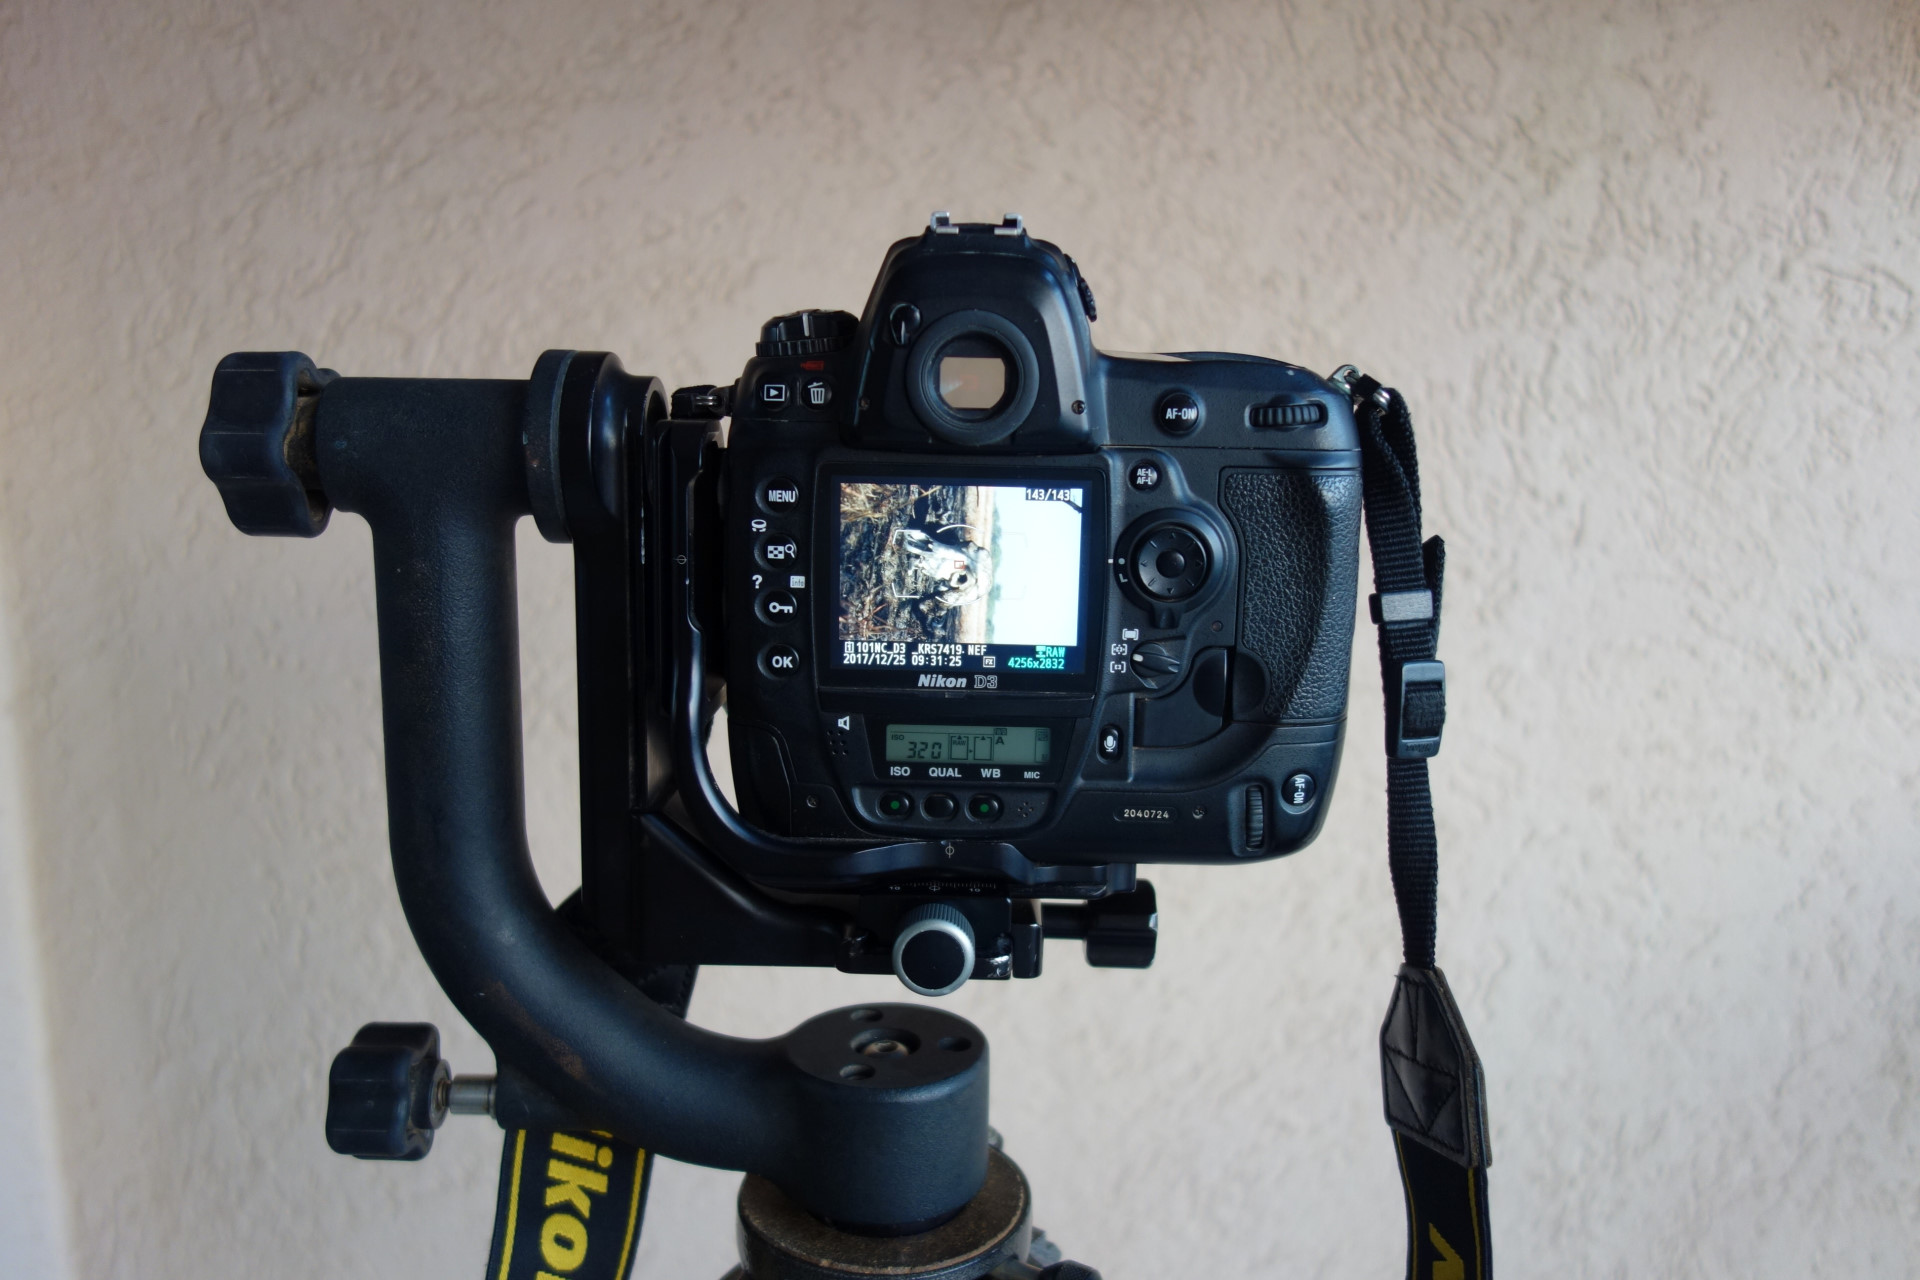
Tried the 600mm F4 FL lens after a long time, and for a change, used the Nikon Z50 on it. Difficult combo to balance on the gimbal. Camera being uber light ! I think I mi
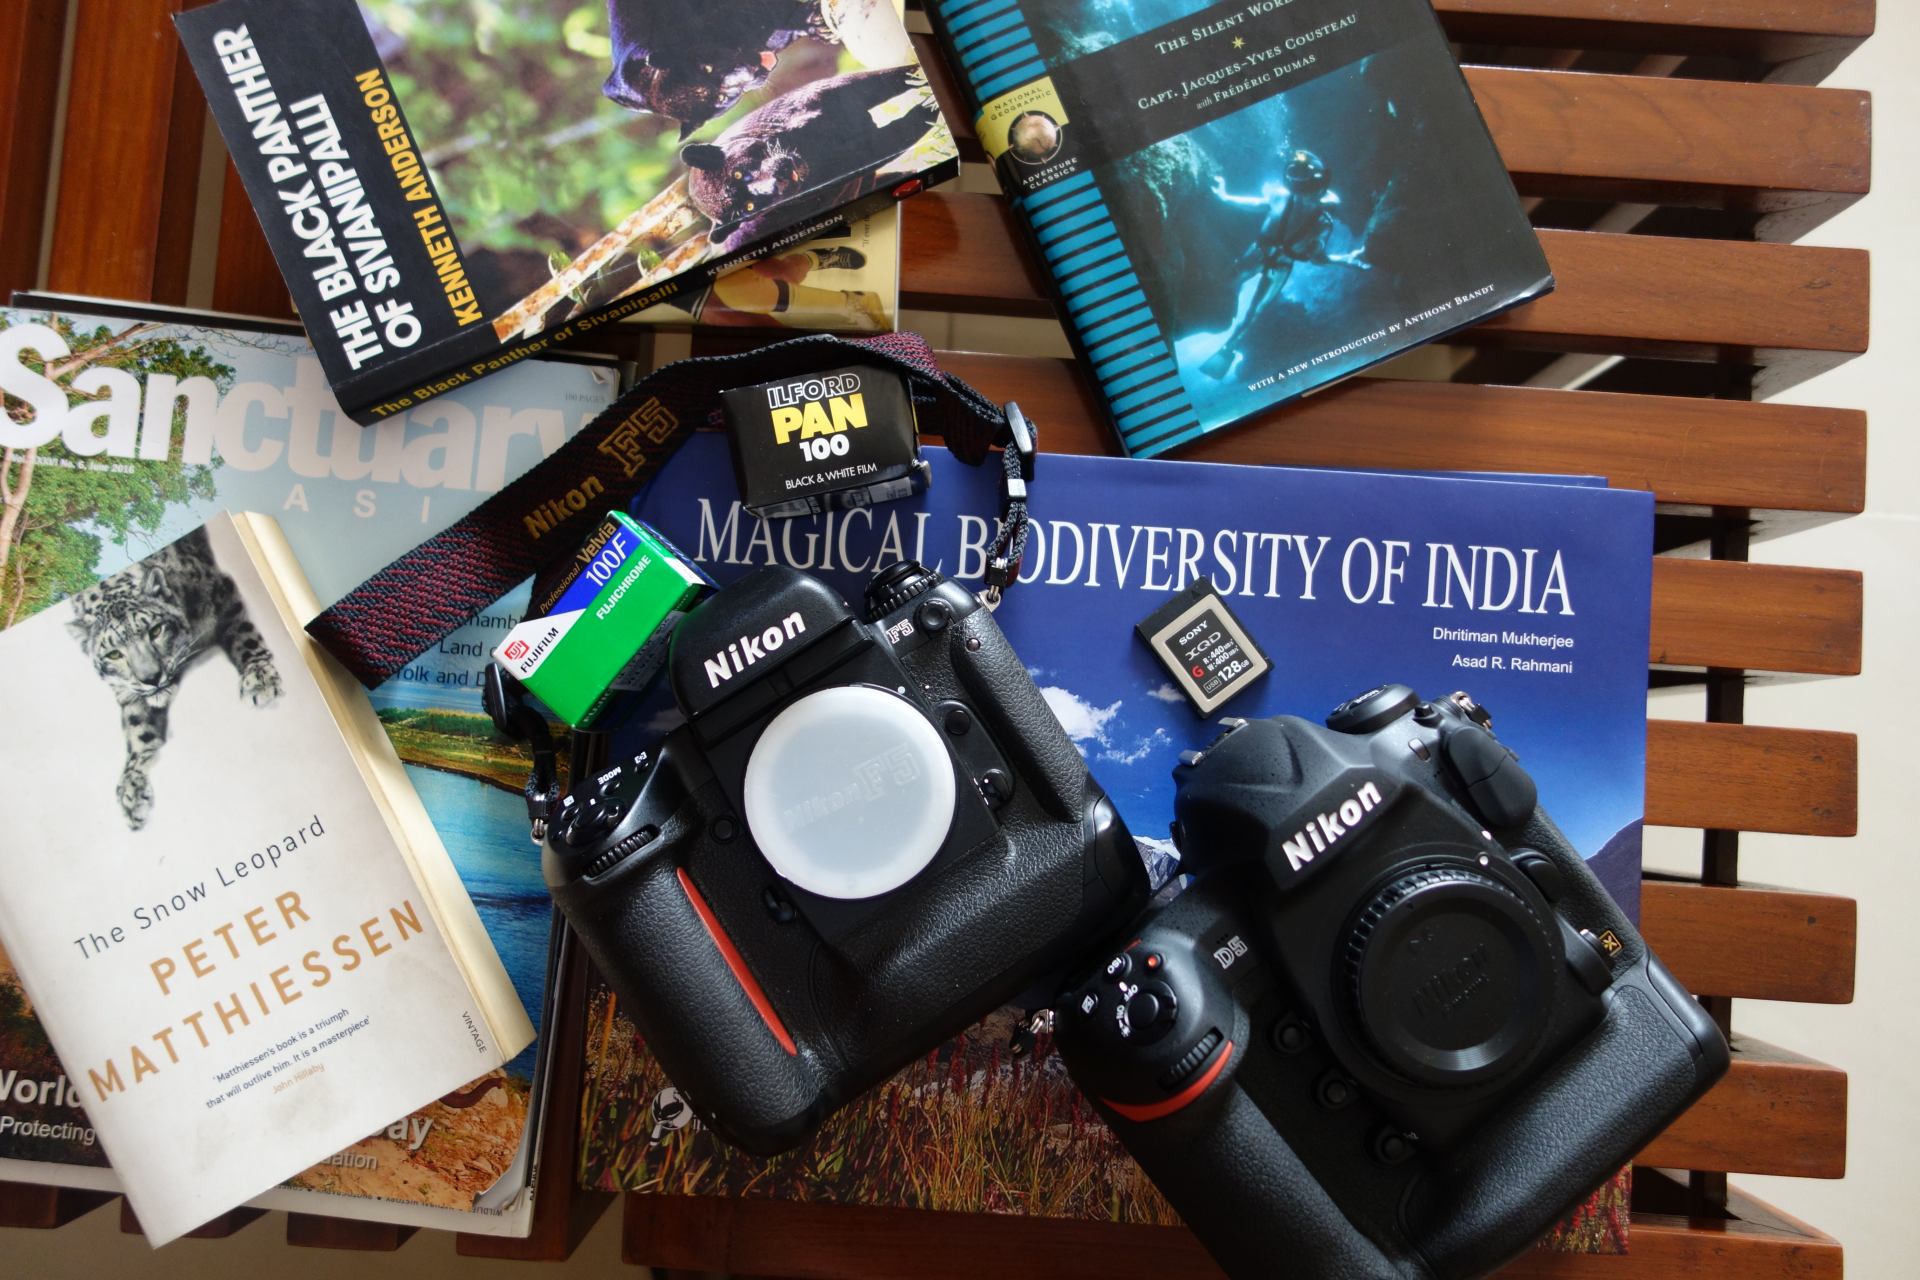
My old film faithful departs for a new owner. Rock on my friend 🙂 Quick grabs with the Nikon Z50 + kit lens , no processing at all. Straight NEF to JPG pics. And my la
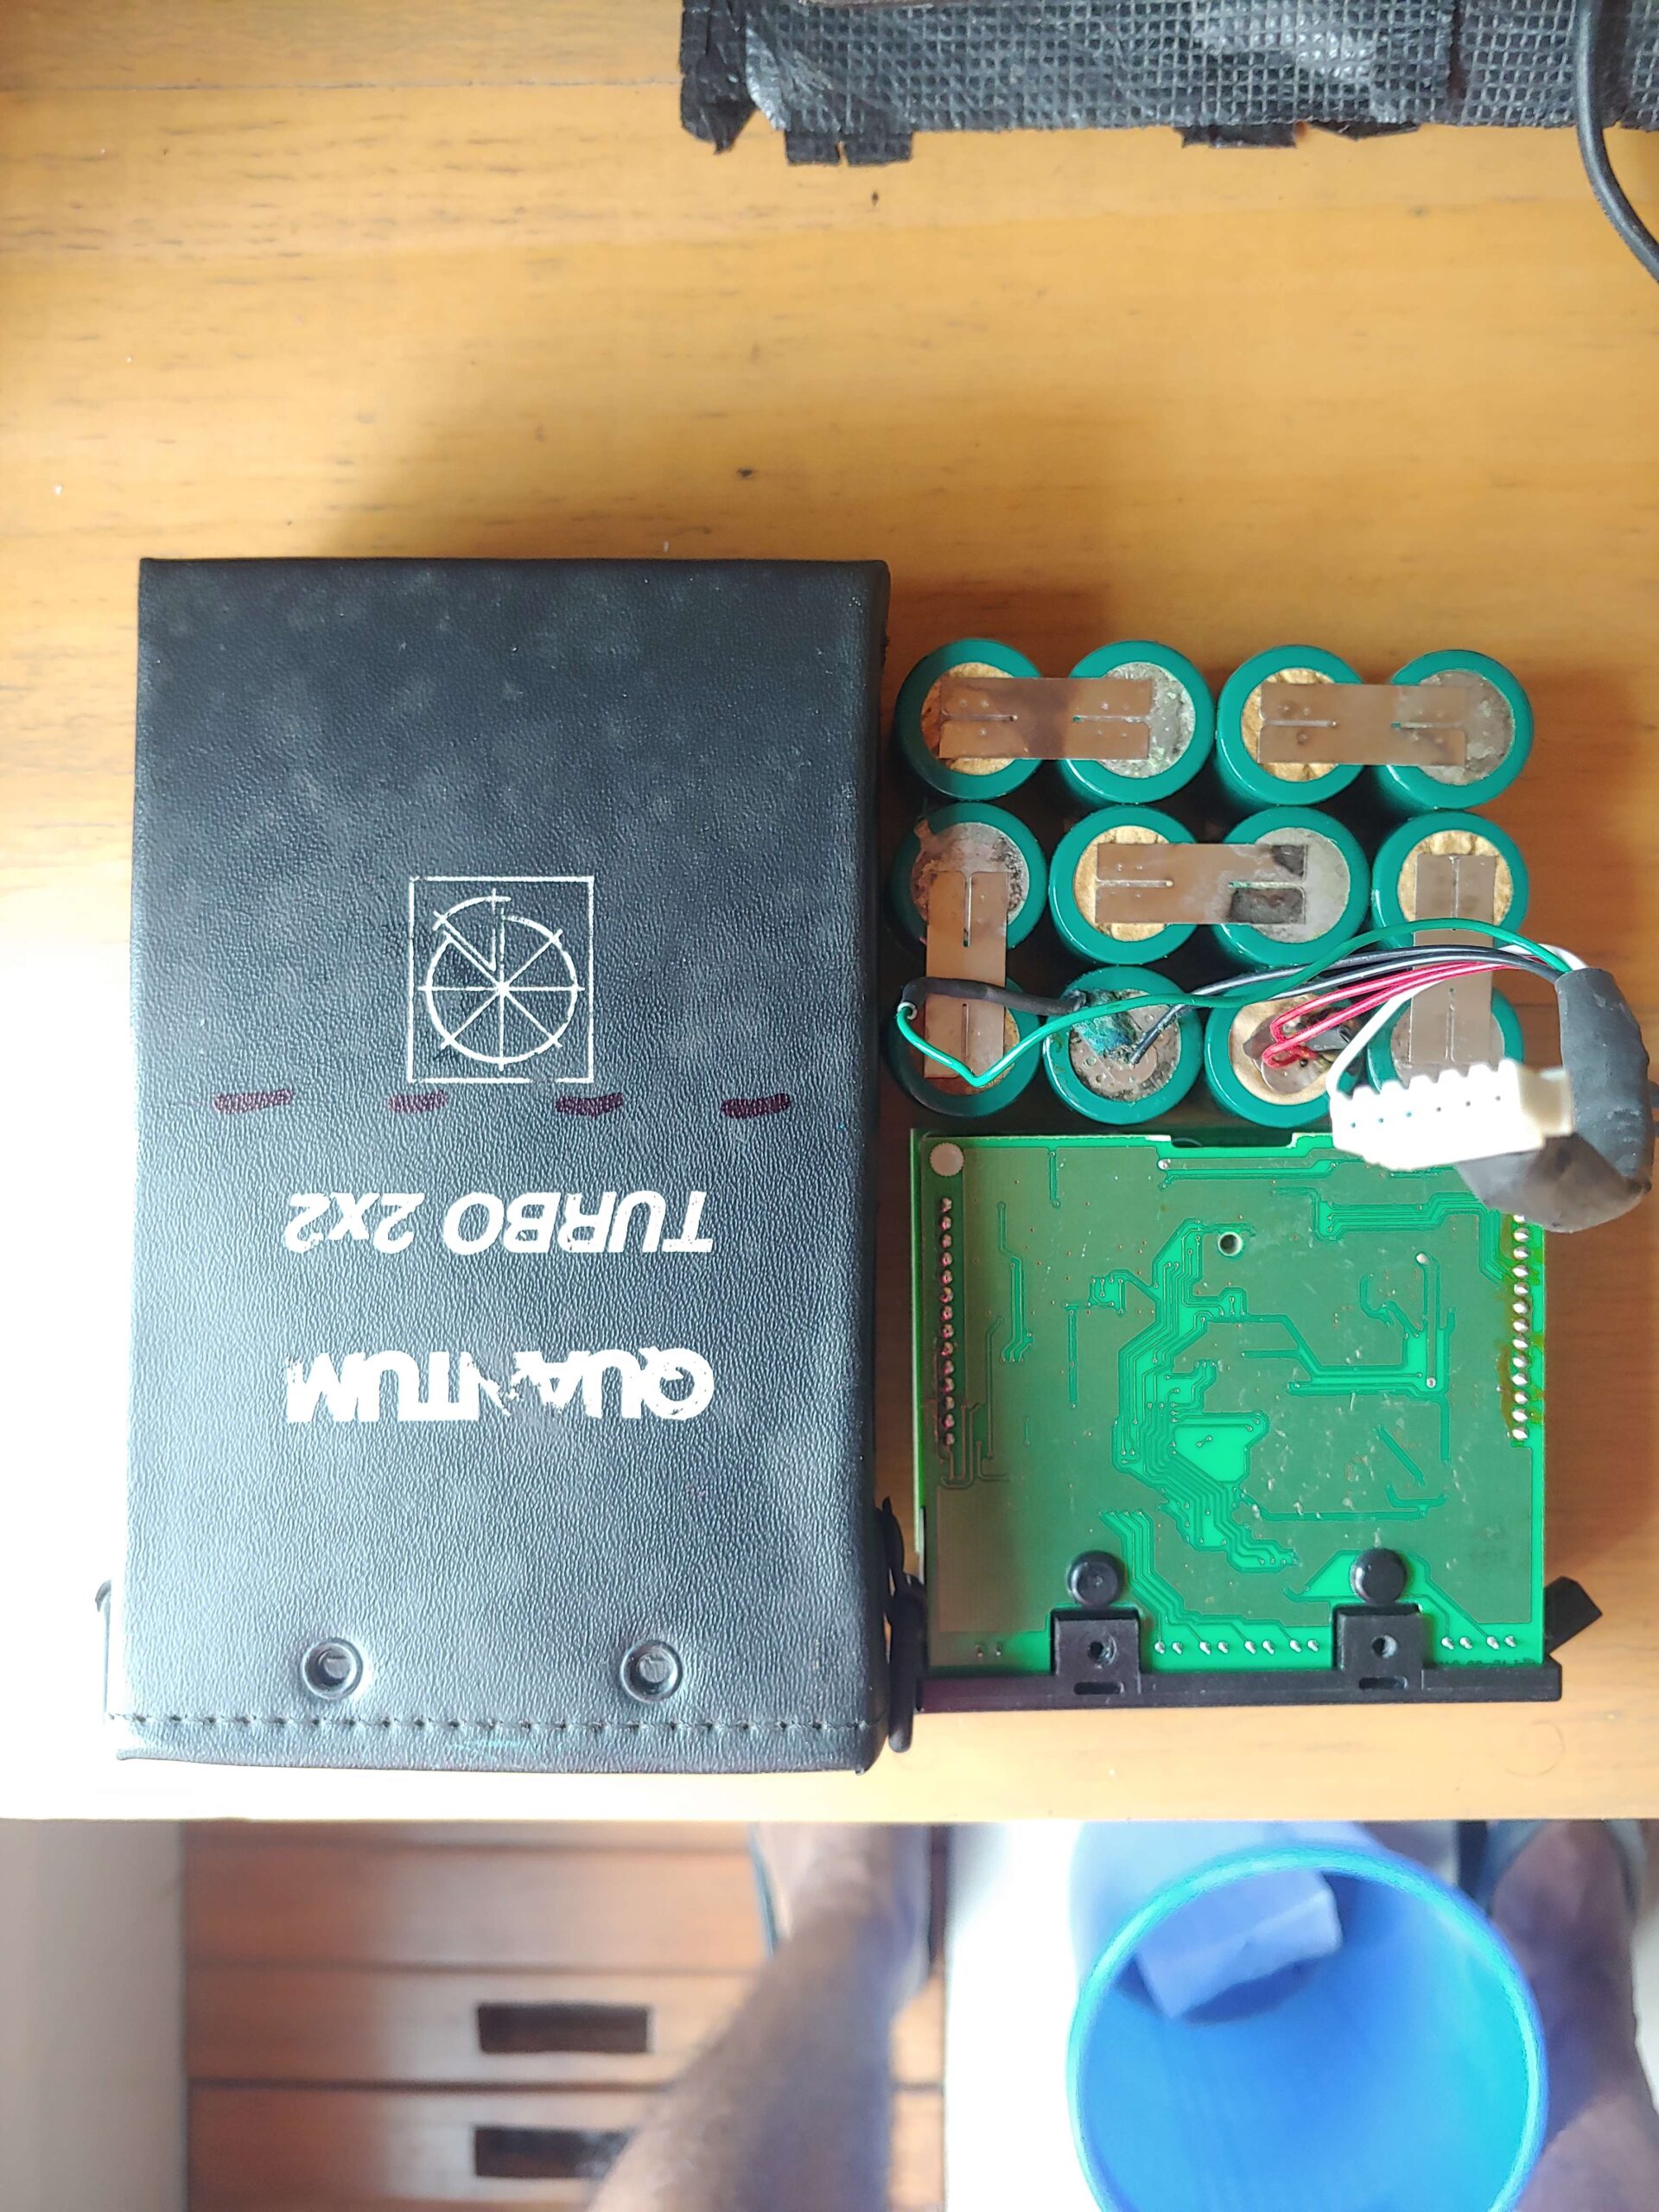
My old Quantum turbo 2×2 battery pack now has dead batteries. I looked up the net and found a few neat ways I could possibly re cell and use my Turbo 2×2. This
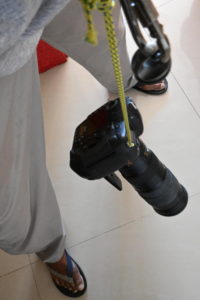
How to secure your blackrapid strap and the 500 PF lens foot. Safety backup . Camera safety tether.
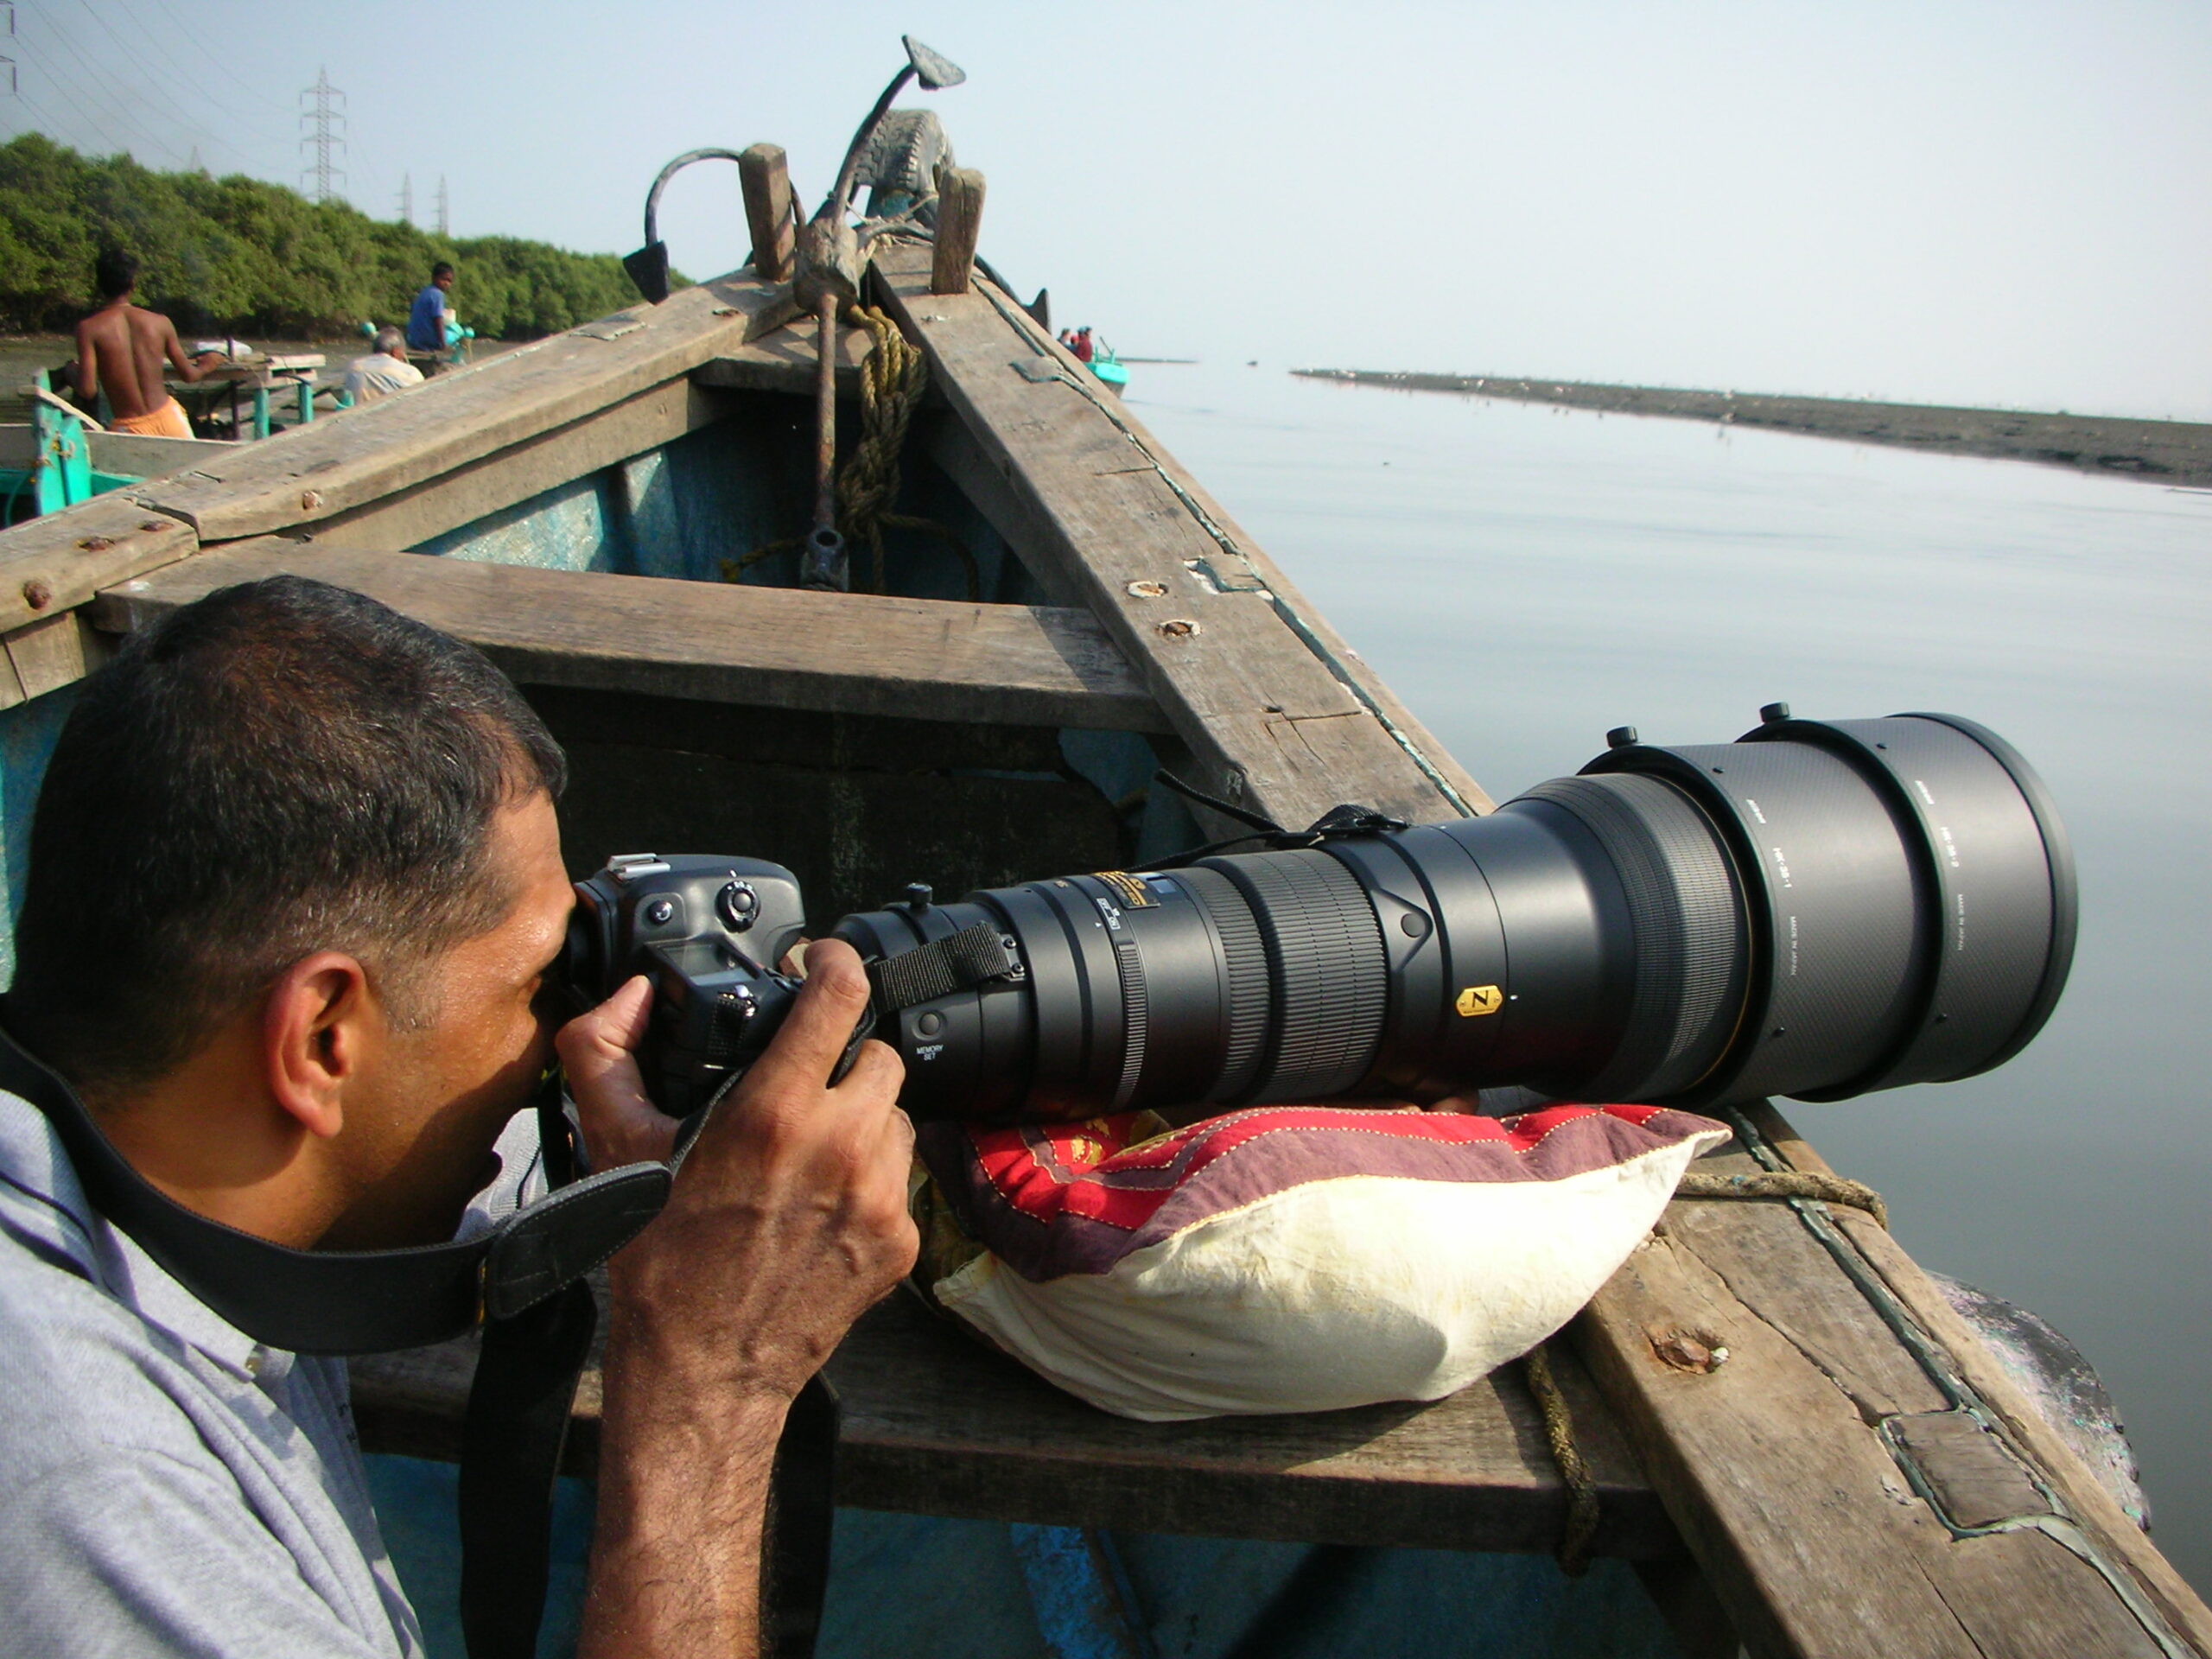
My standard wildlife set used to be 600mm F4 (5.06 kg) , 300mm F2.8 (2.9Kg) , 70-200mm F2.8 (1.4 Kg) , which is a total of 9.36 Kg . The new PF lenses by Nikon help reduc
Most of us usually use multiple cameras on a shoot. Putting the images in a time sequence means that the time is correctly synced on both cameras. This is also critical w
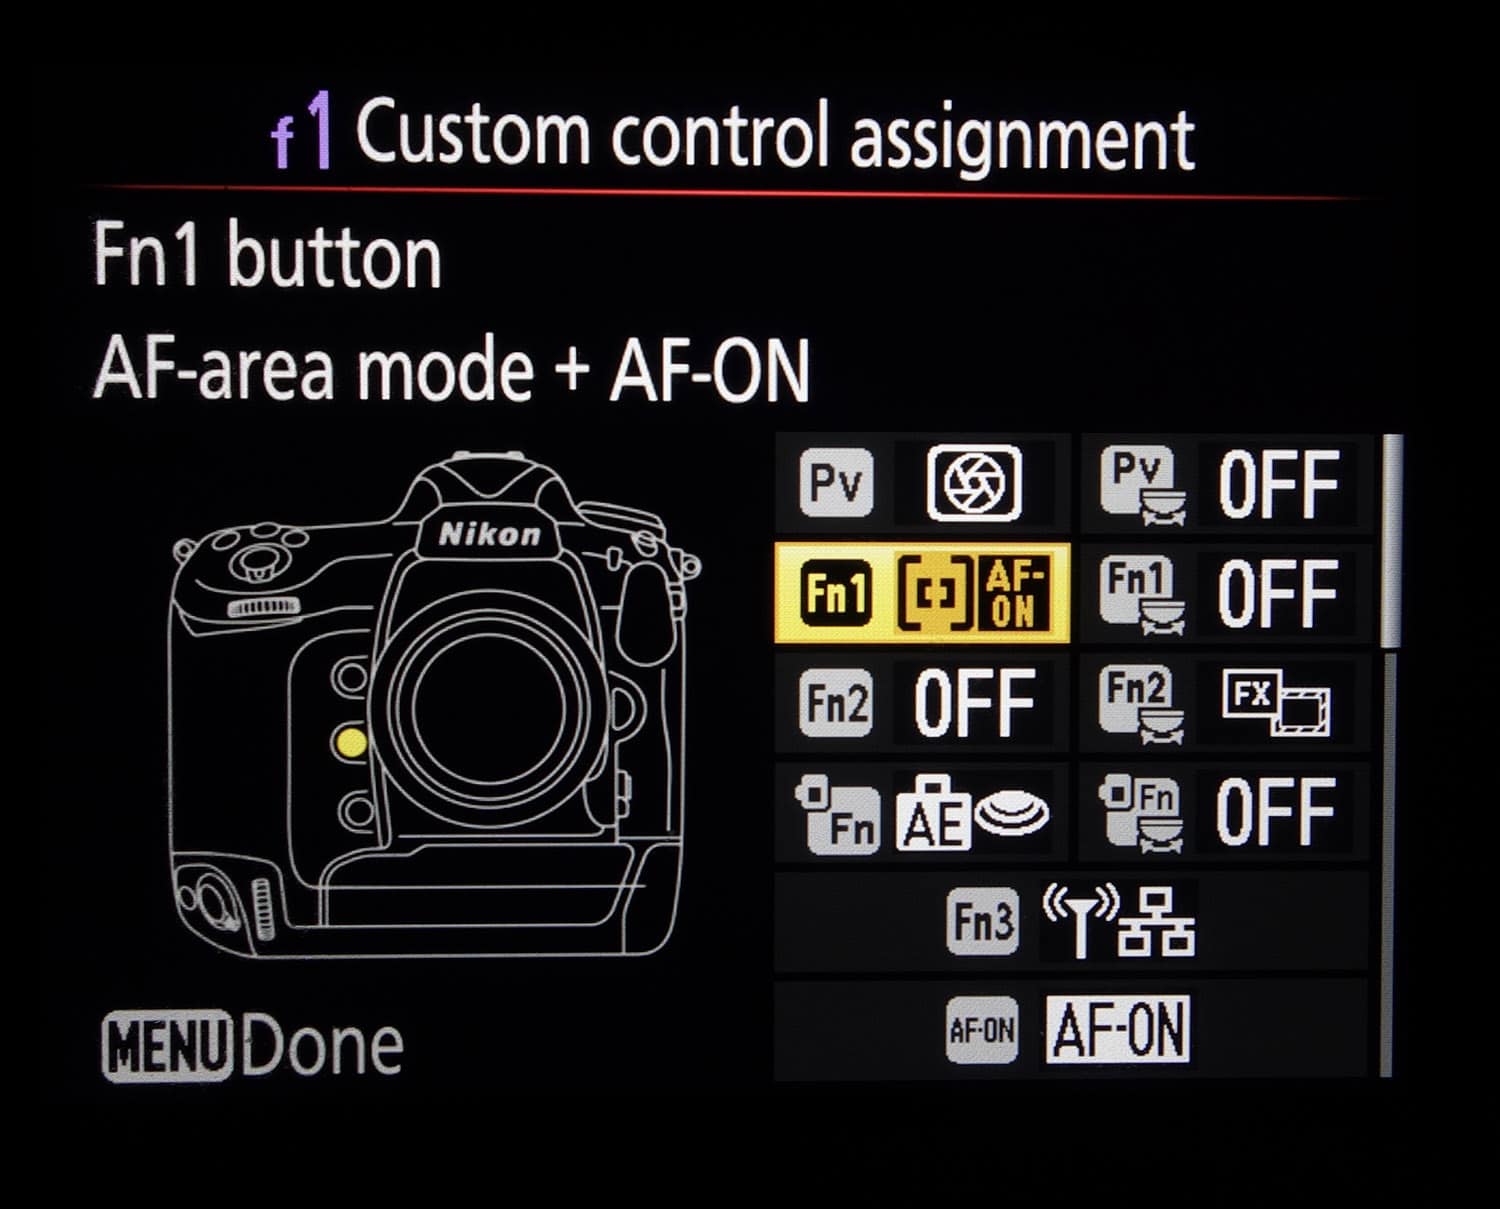
I have been wanting to write a few things on the Nikon D5 control settings that seem to be working well for me. 1. Quickly switching between AF modes: Usual situation whe
Dusty Safari Gear List other than the camera gear
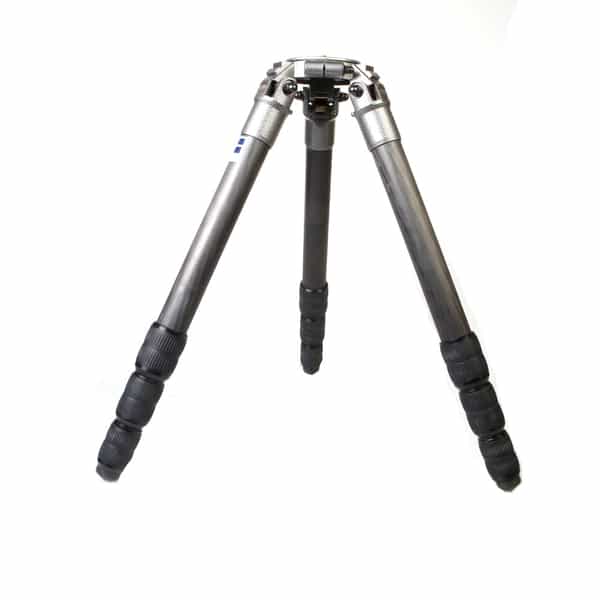
I use a old Gitzo 1548 for my 600mm FL. But new and lighter options are now available. My 1548 folded is just under 23.25 inches(59 cm) and weighs 3 Kgs
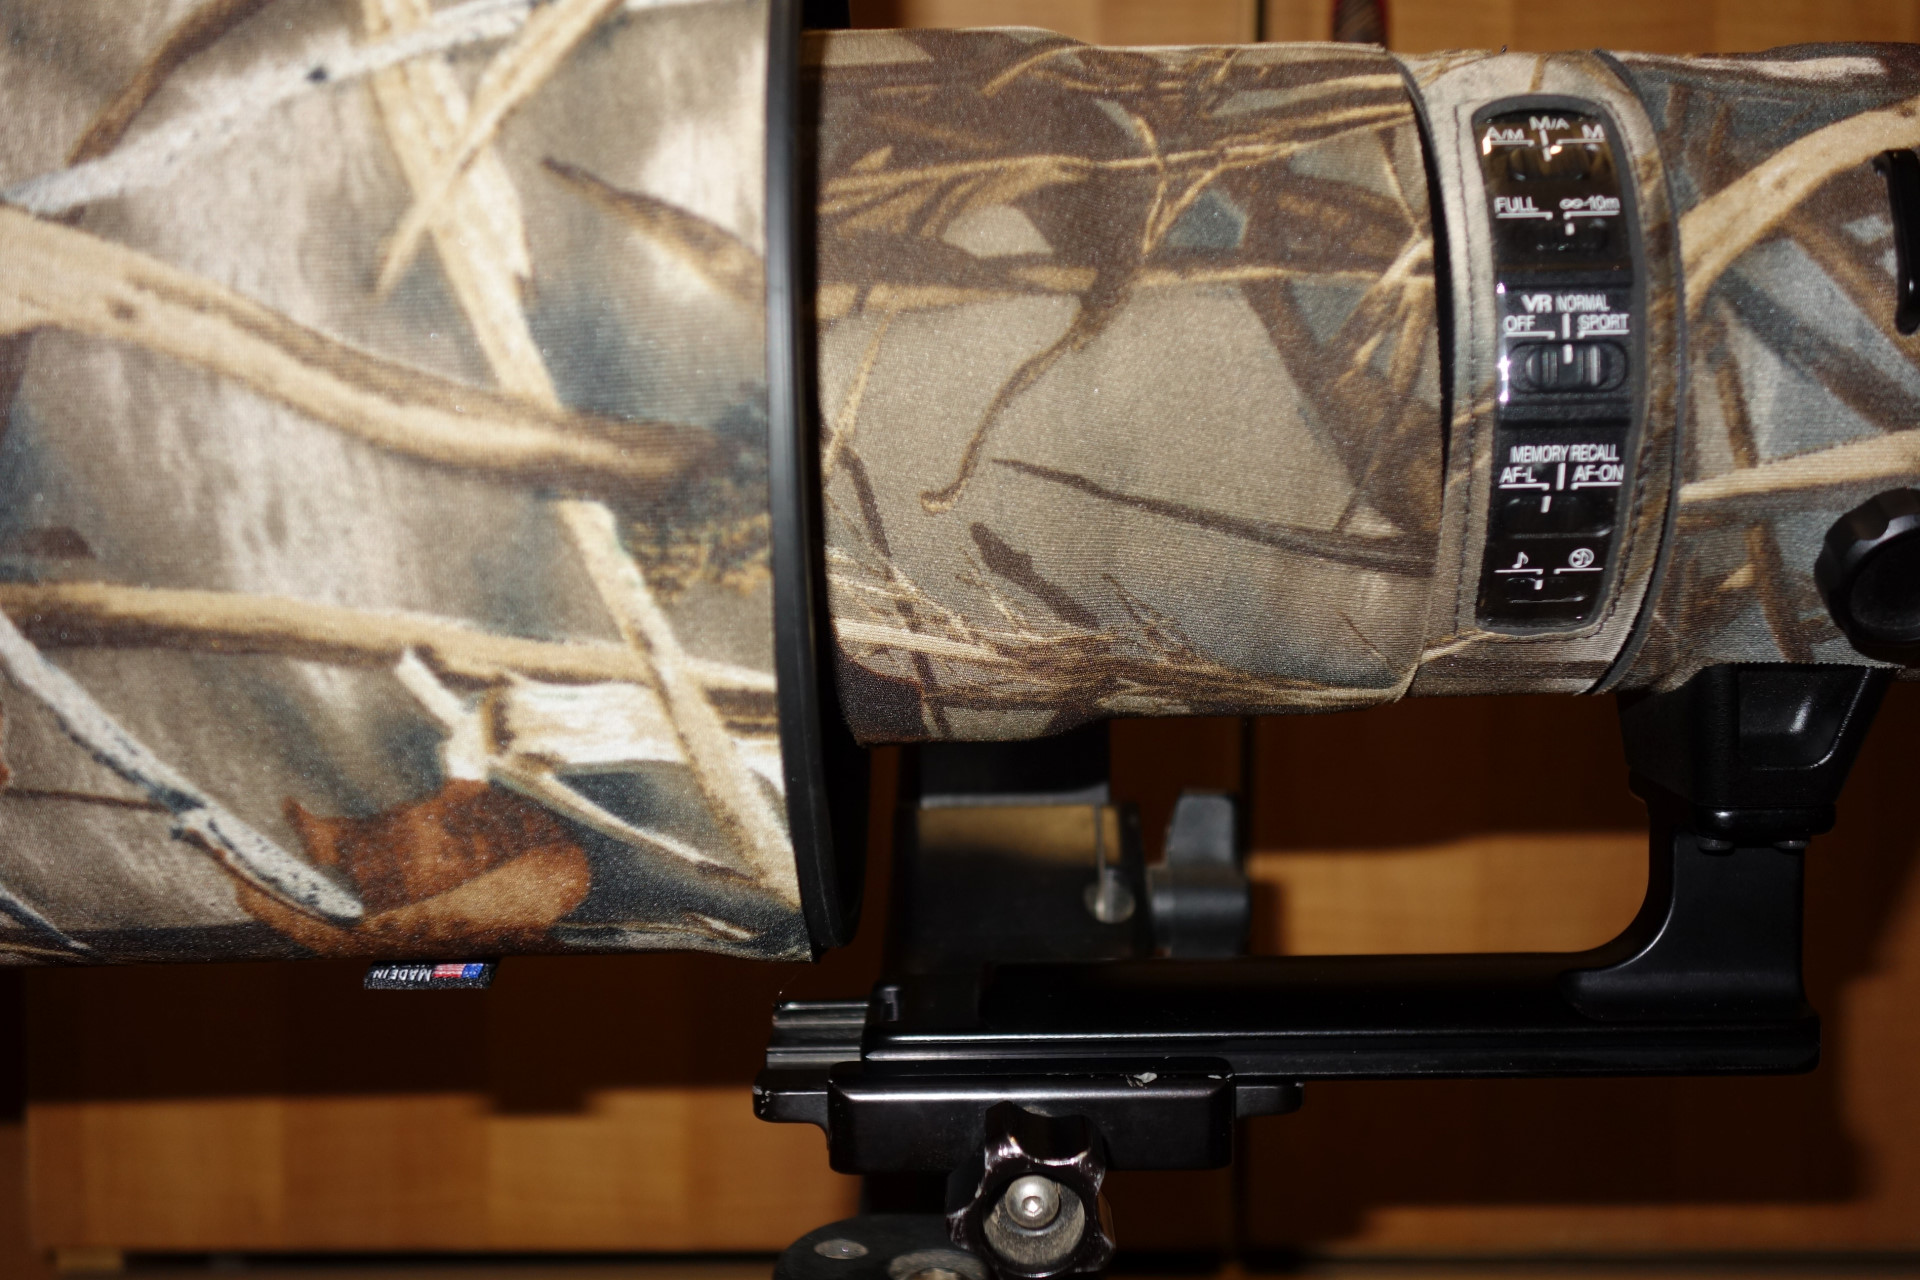
While researching the Nikon 600mm FL arca swiss compatible lens foot I came across Simon’s blog The new Nikon 600mm FL is a new lighter design and I got the new RRS
One usual challenge on trips is, sometimes I need to use a shorter lens for landscapes when using a wimberly gimbal. My camera has a L plate so I can mount it on a
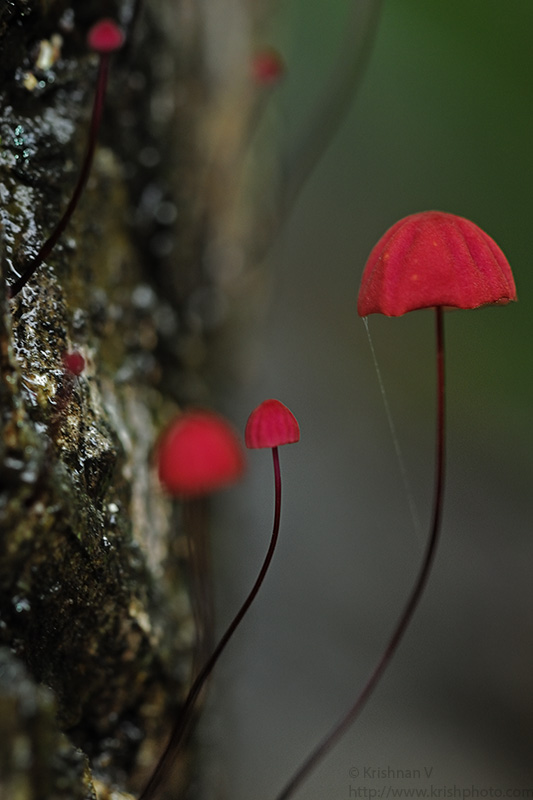
I decided to mix things up a bit and get myself into a Macro workshop at SGNP. SGNP is a place to definitely go in the monsoons. I pulled out my eight year old and not ye
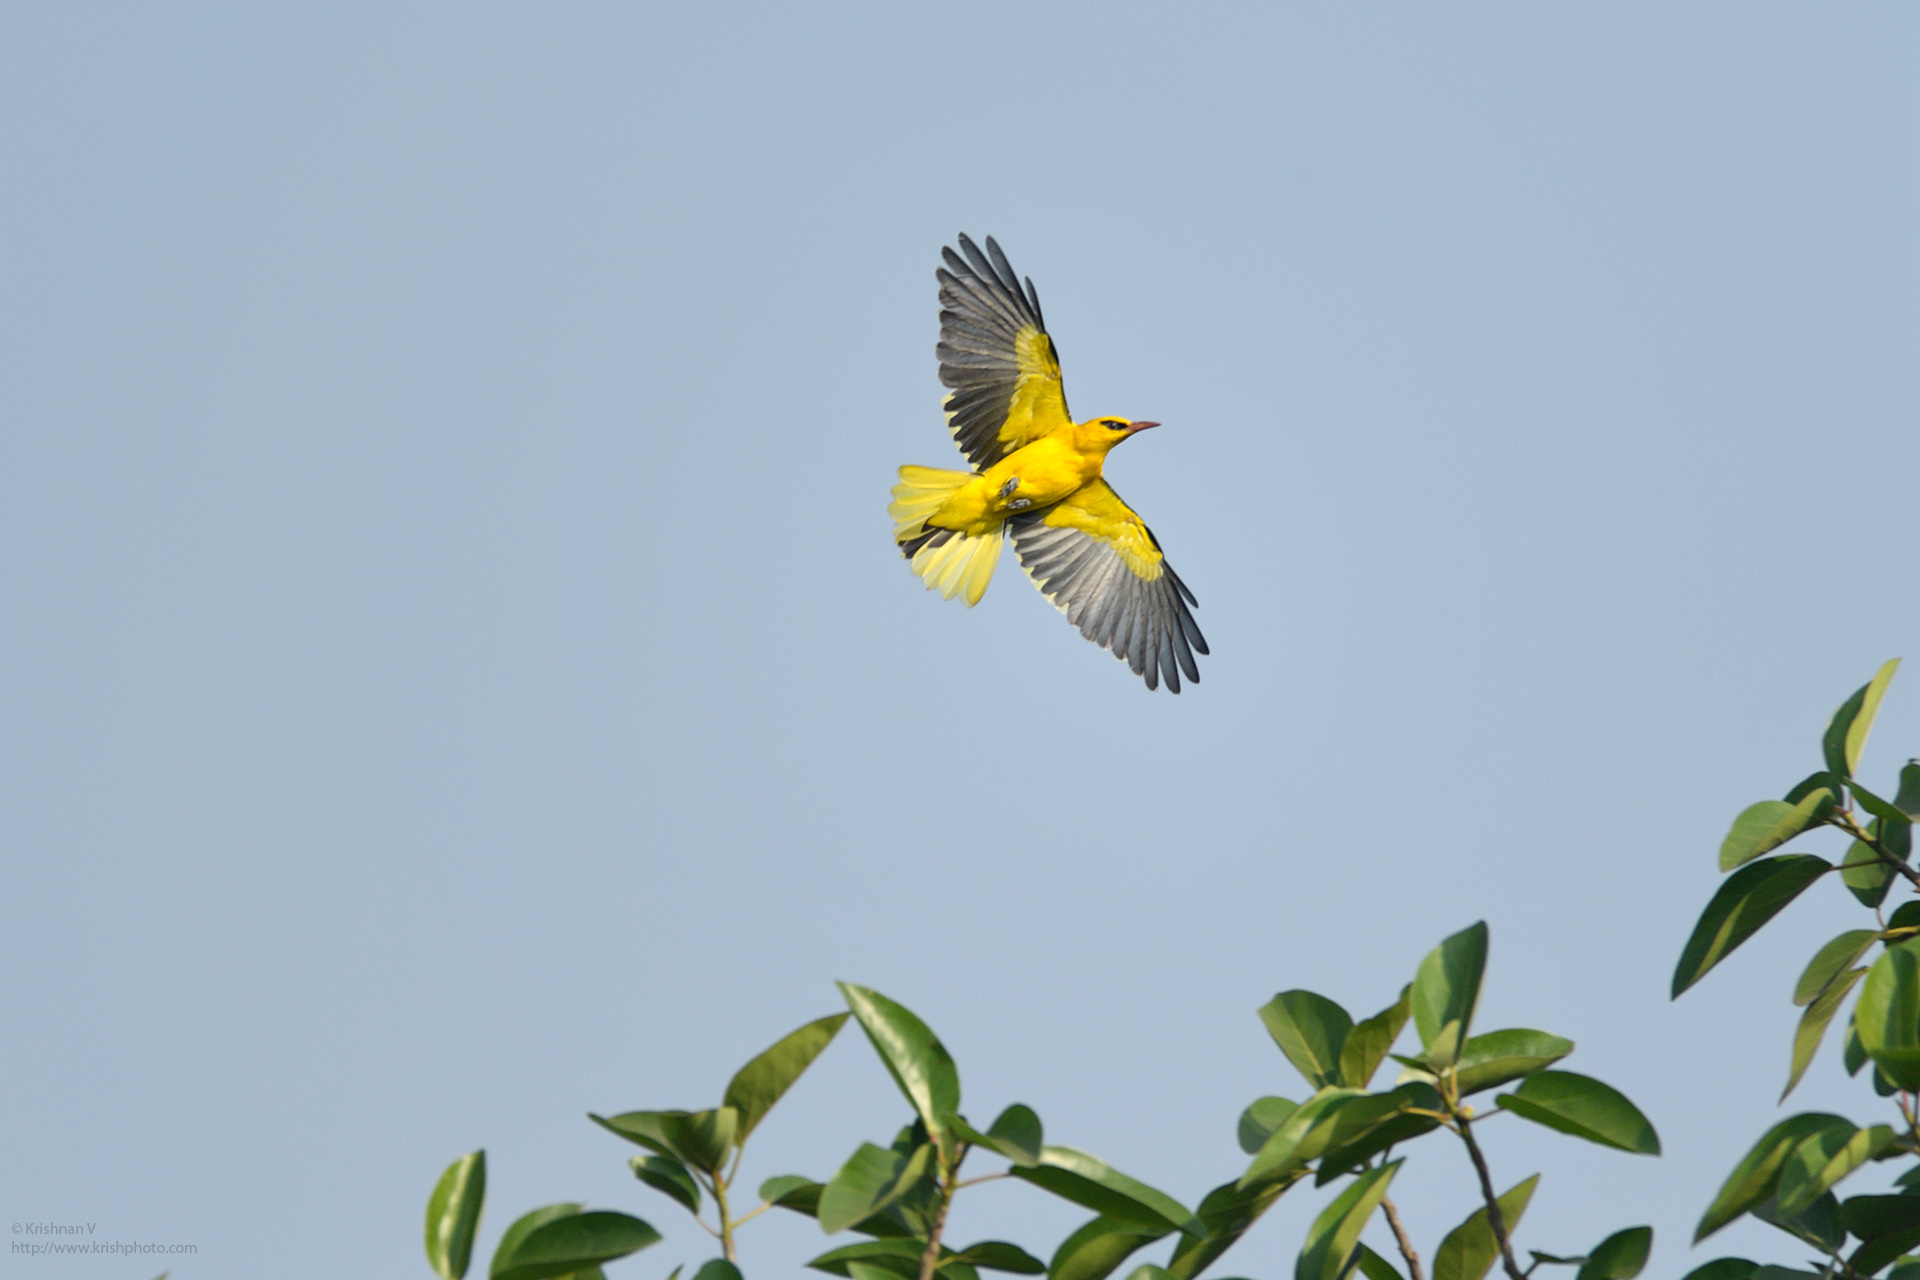
Did a late trip to Bhandup today morning. Not much activity but the star of the morning was a Golden oriole. I tried the TC14 along with the 200-500mm. Really slow for fl
I discovered an interesting setting that might be useful in a lot of situations. I usually work using AF-C, d-9 or d-21 most times with back button AF-ON only. But