- abstract (38)
- Aero India (4)
- Aviation (5)
- balcony (75)
- Books (1)
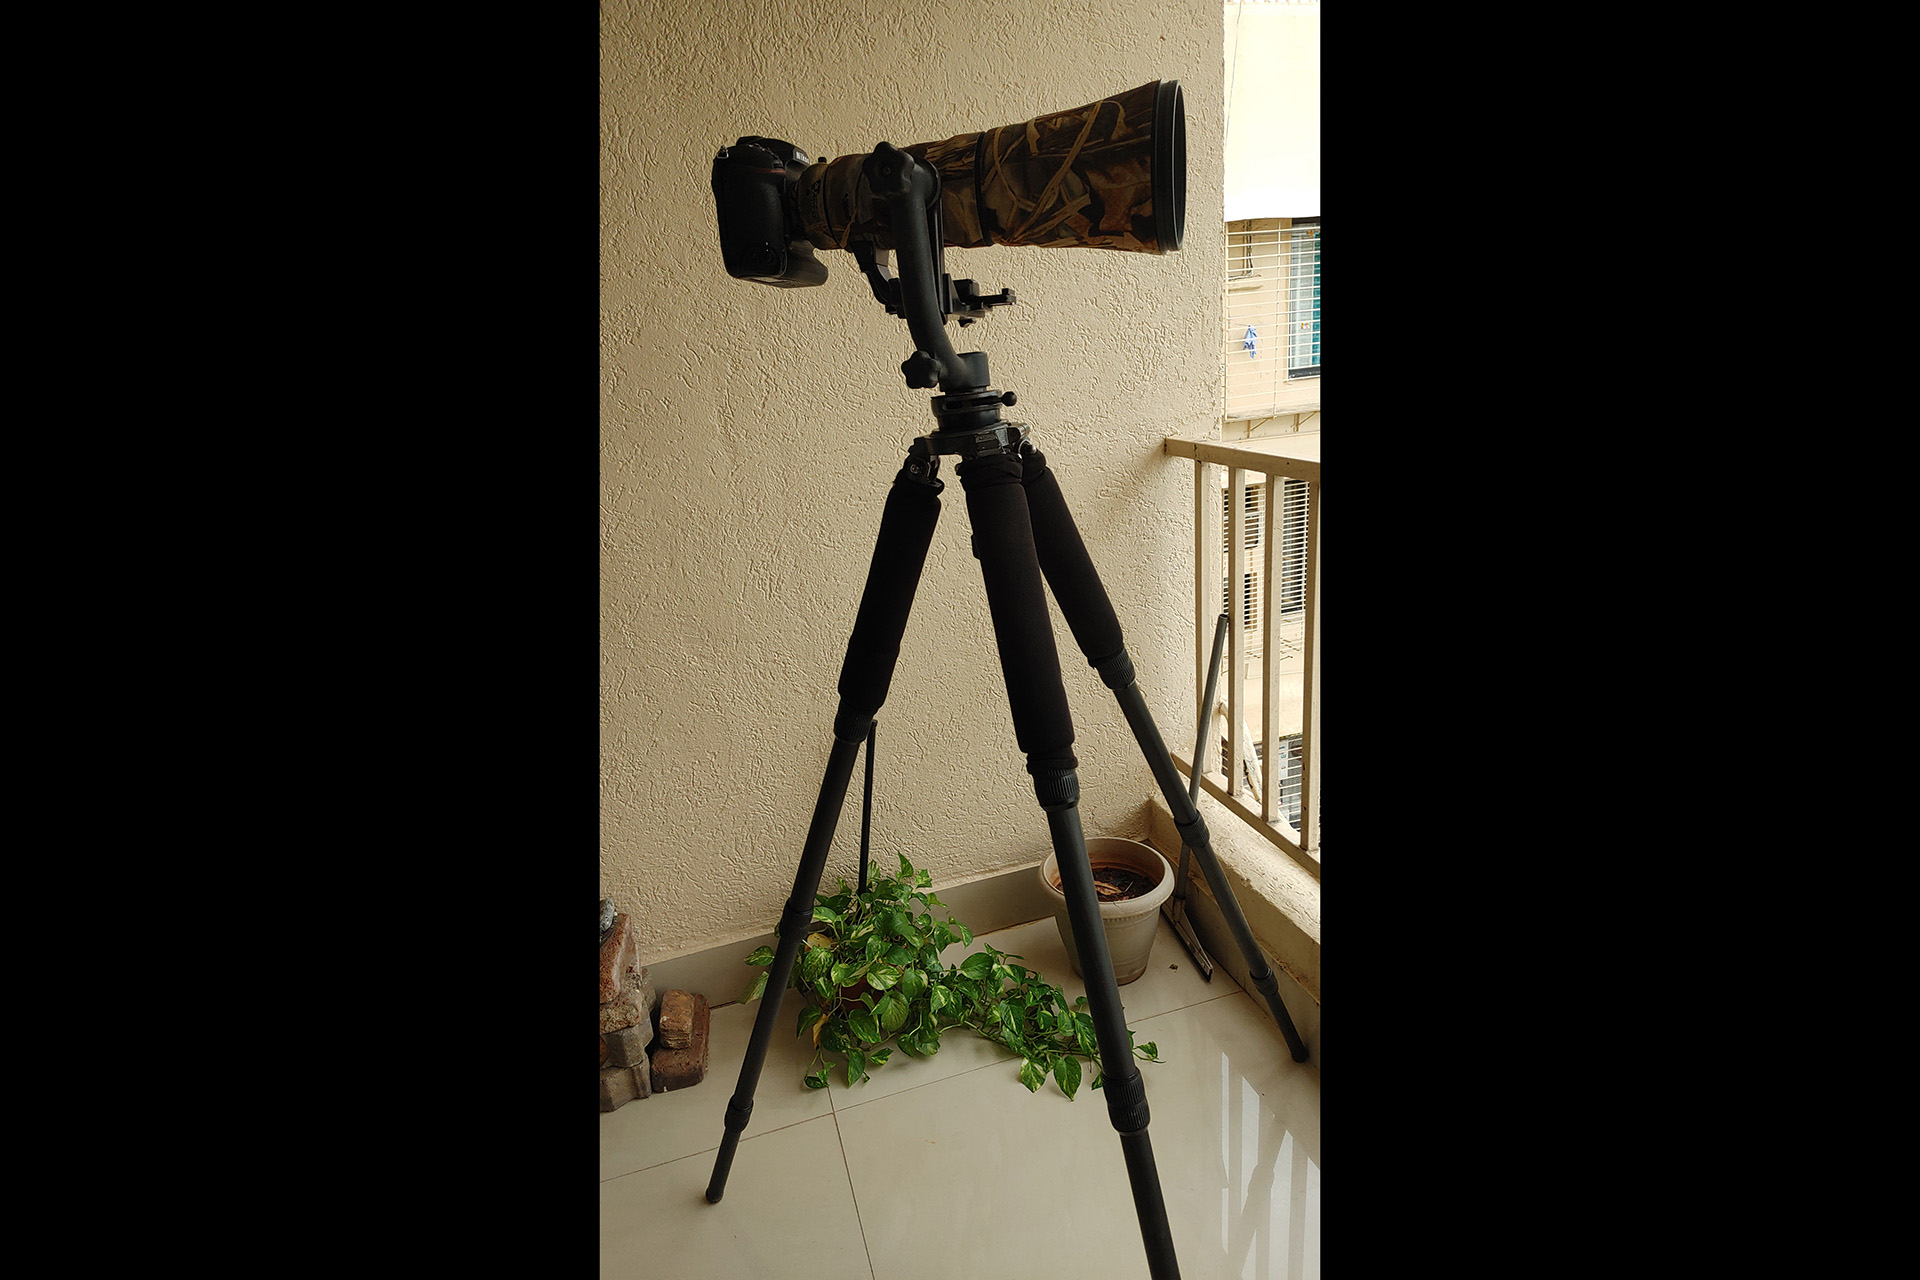
- Equipment (47)
- Gallery (3)
- Image Processing (16)
- Landscapes (11)
- Parakeets (65)
- Prints (1)
- Still Life (4)
- Time Capsule (65)
- Tips (18)
- Trip Reports (149)
- Workshops (10)
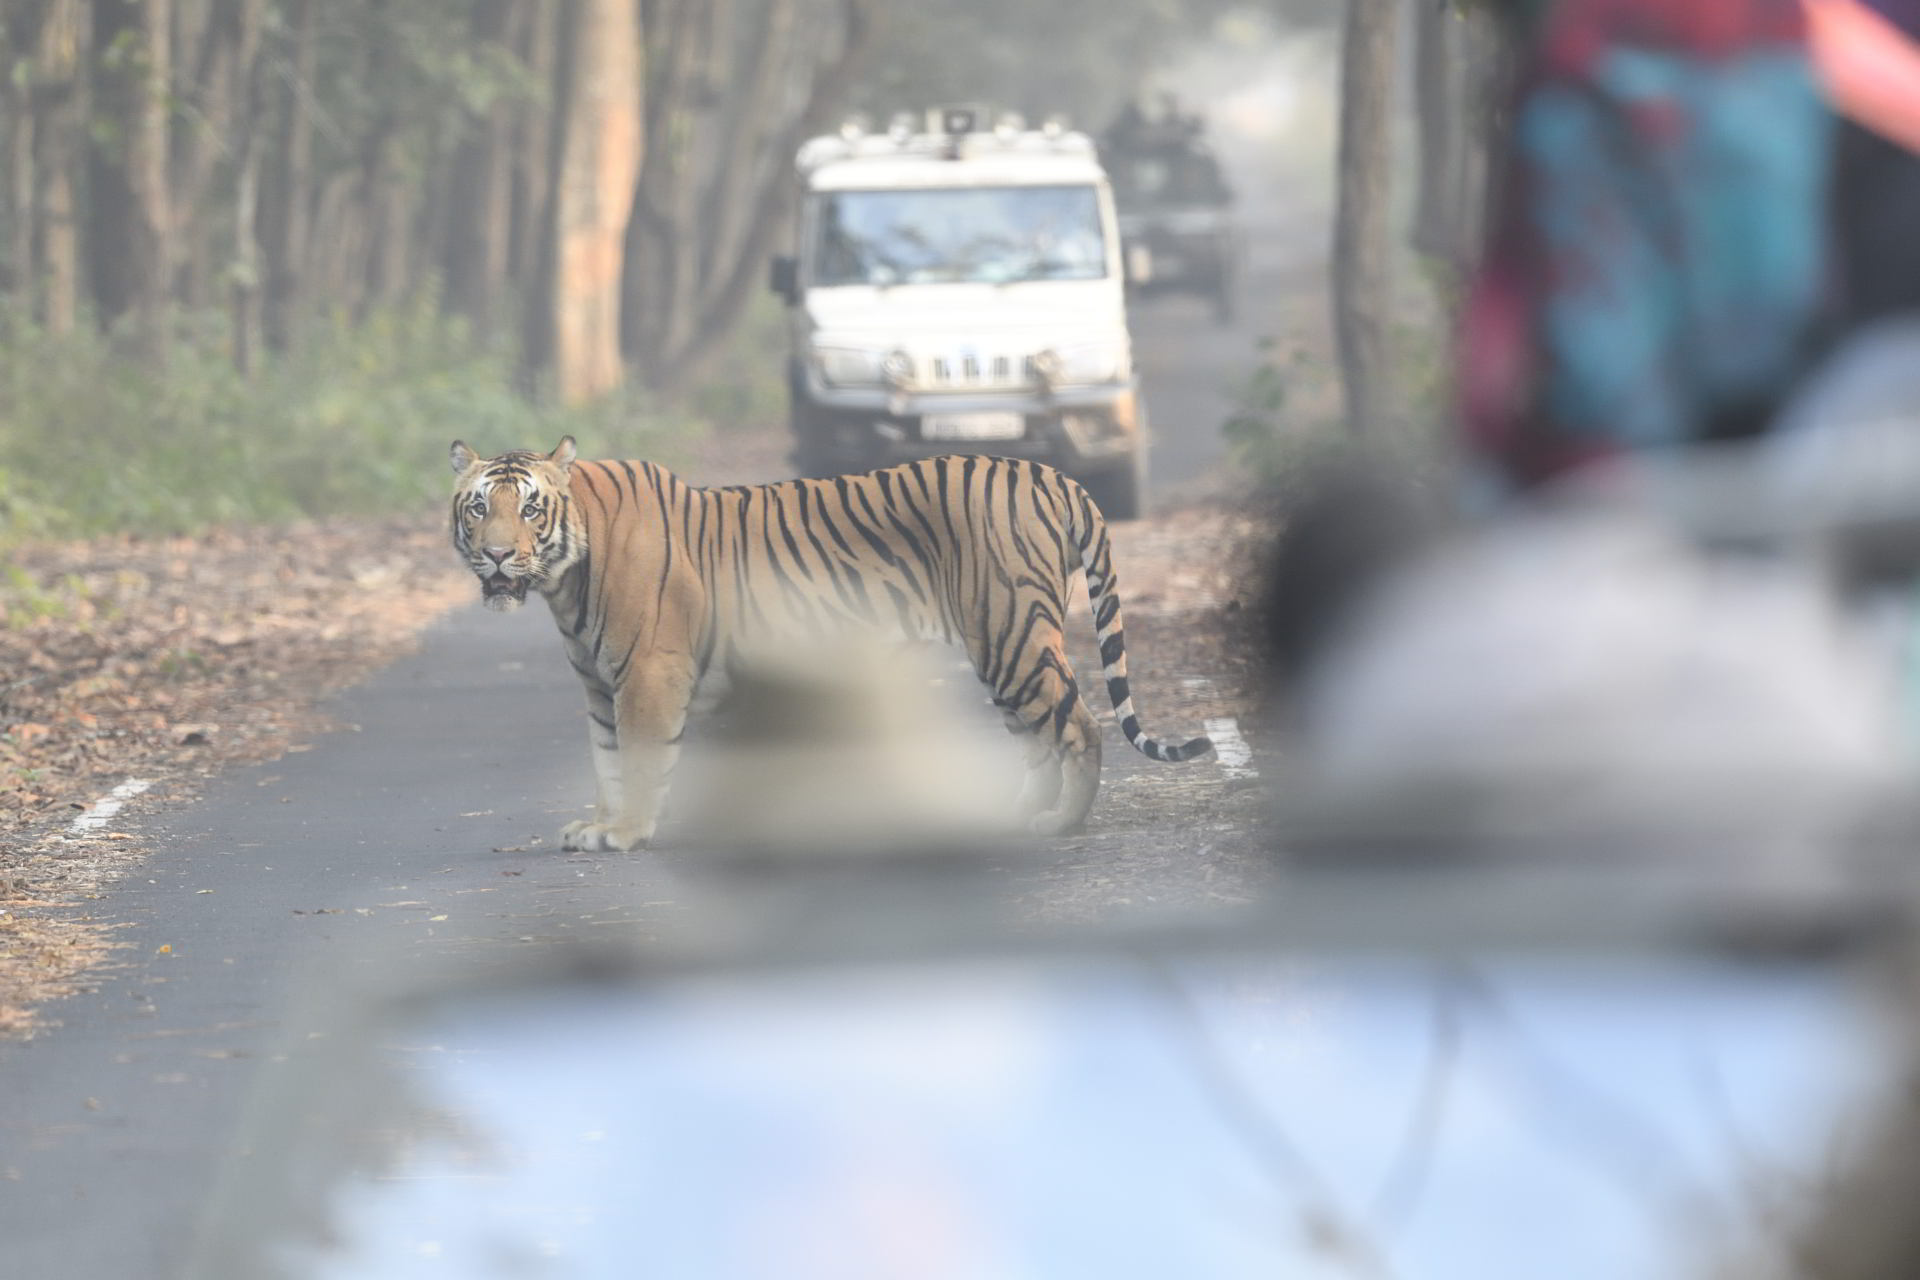
As I was getting ready for the early morning safari, I on a hunch checked the date time on my camera. My Z50 showed 1/1/2029 0:0:21H . Its been so long that the
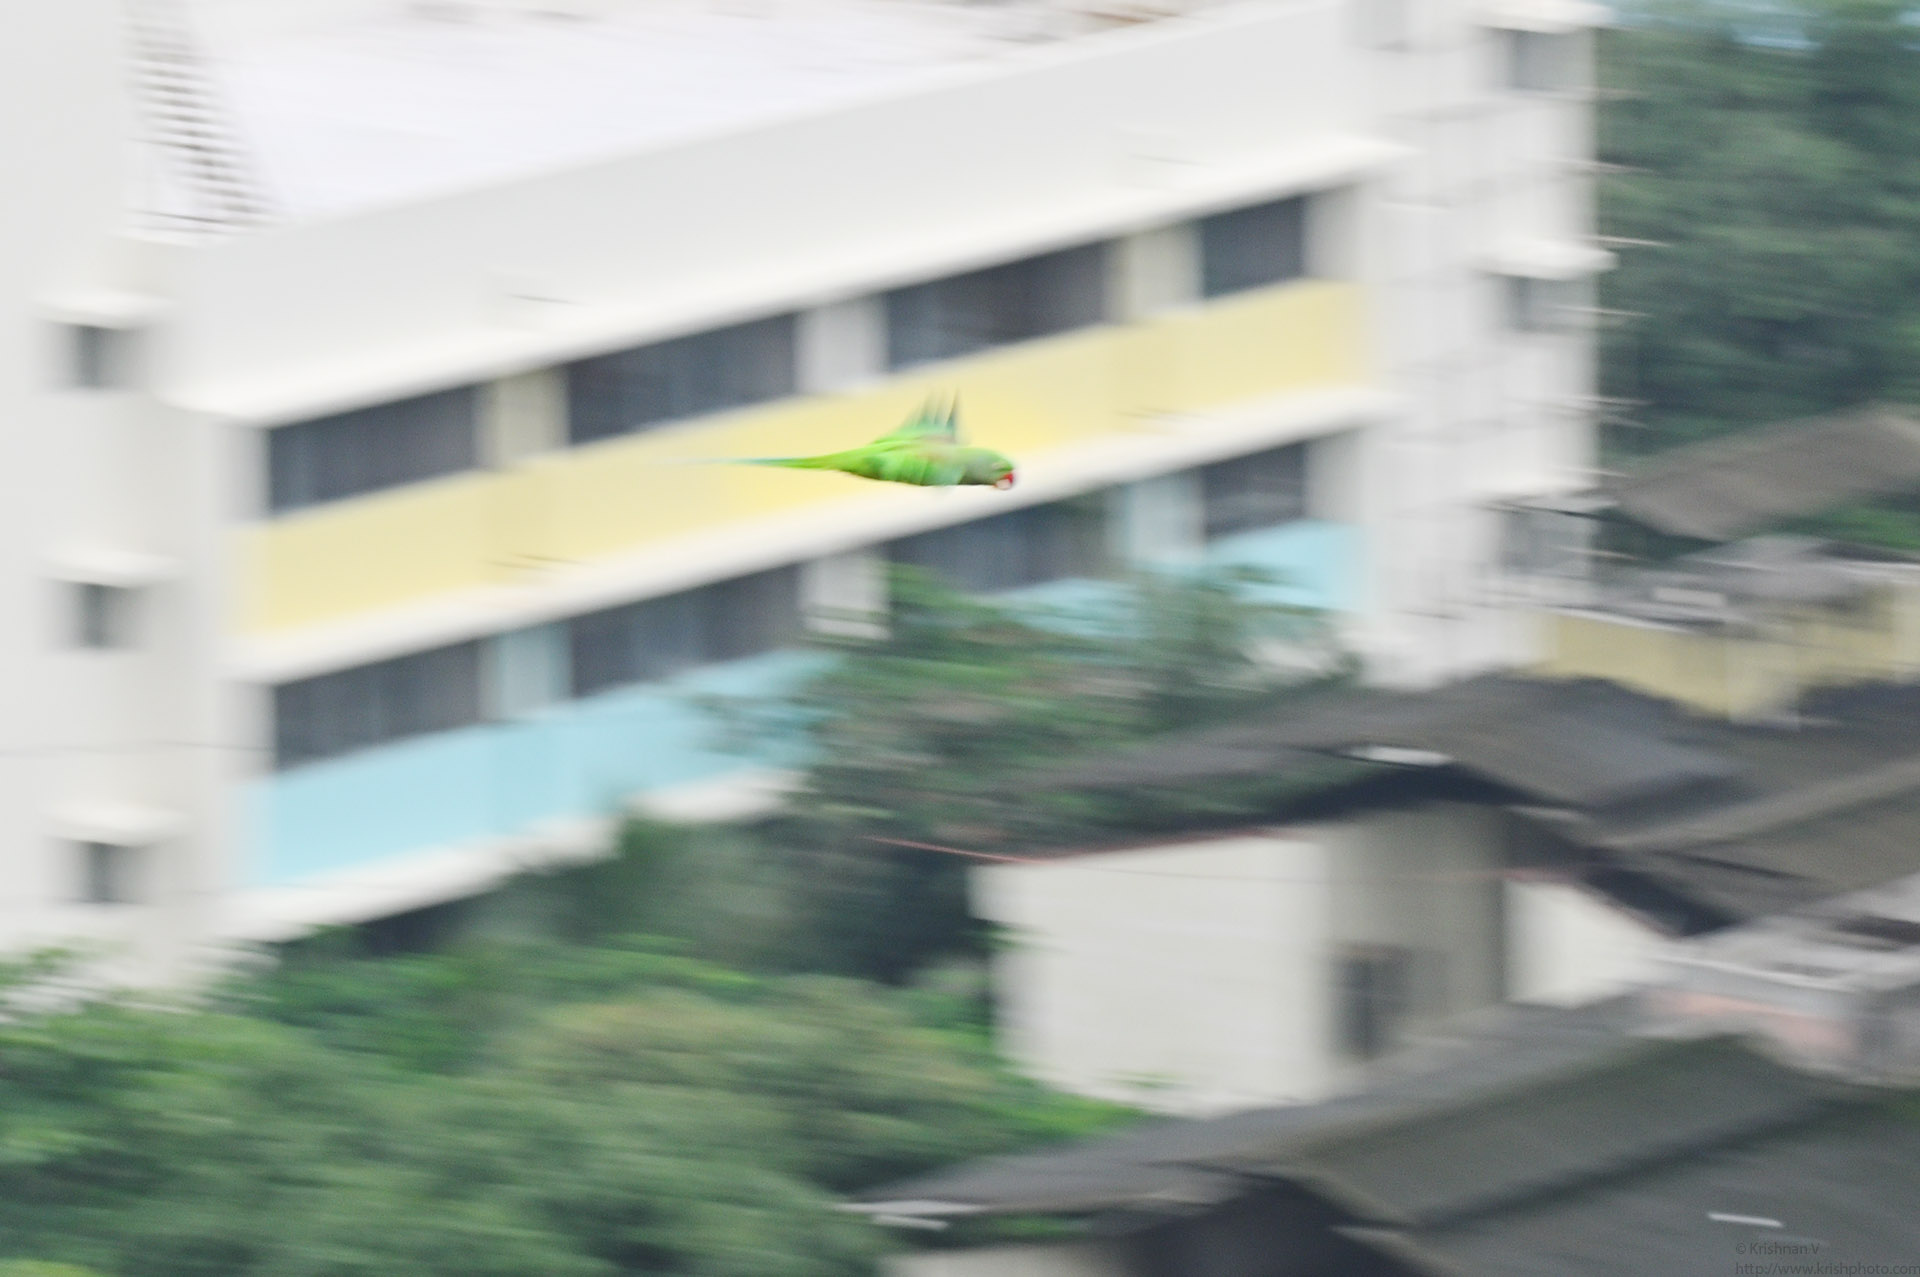
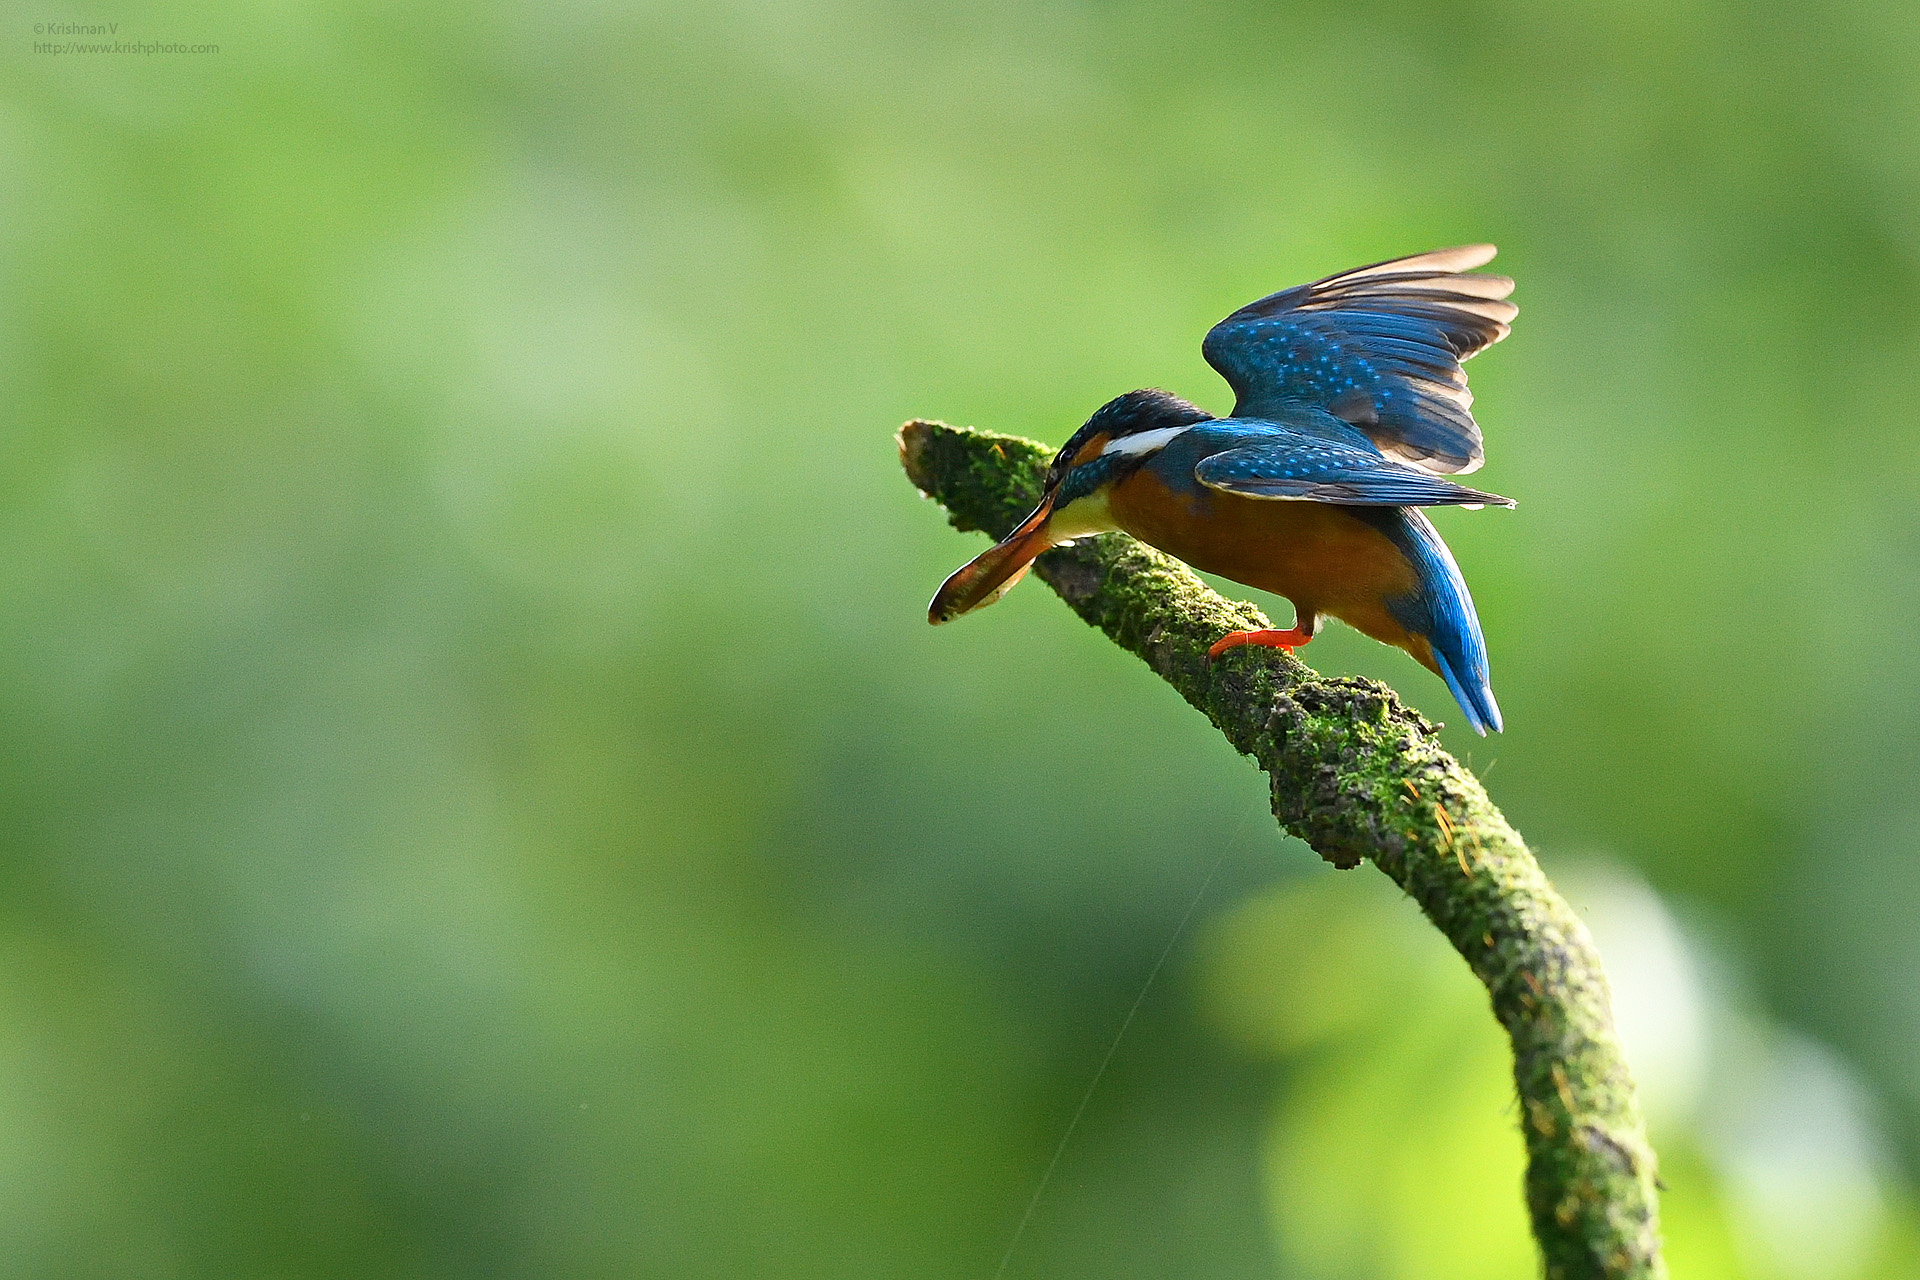
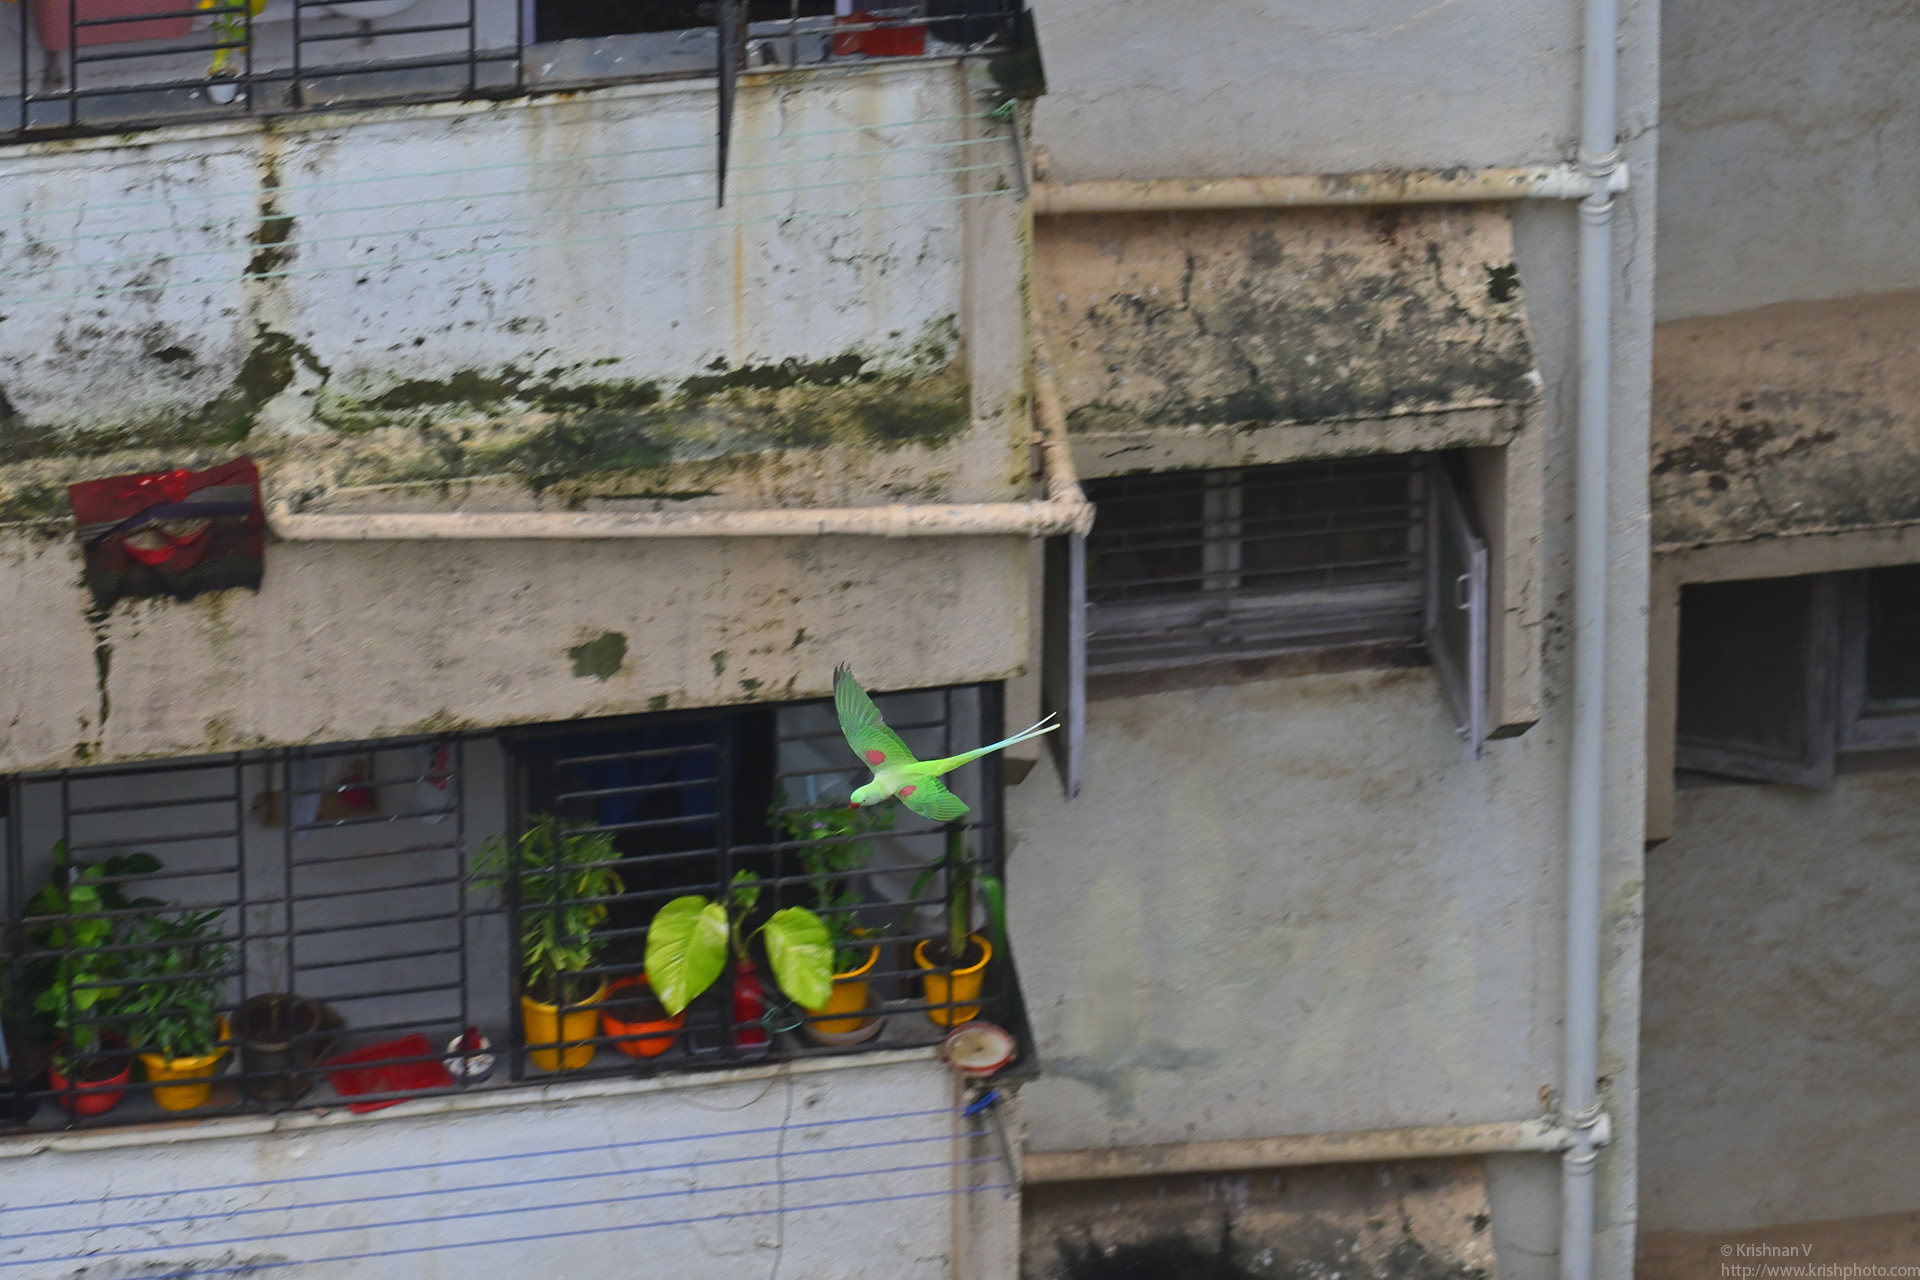
Been long since I touched my camera. A cacophony of parakeets screeching outside my balcony got me reaching out for my favourite Nikon Z50 and the 50-250mm DX t
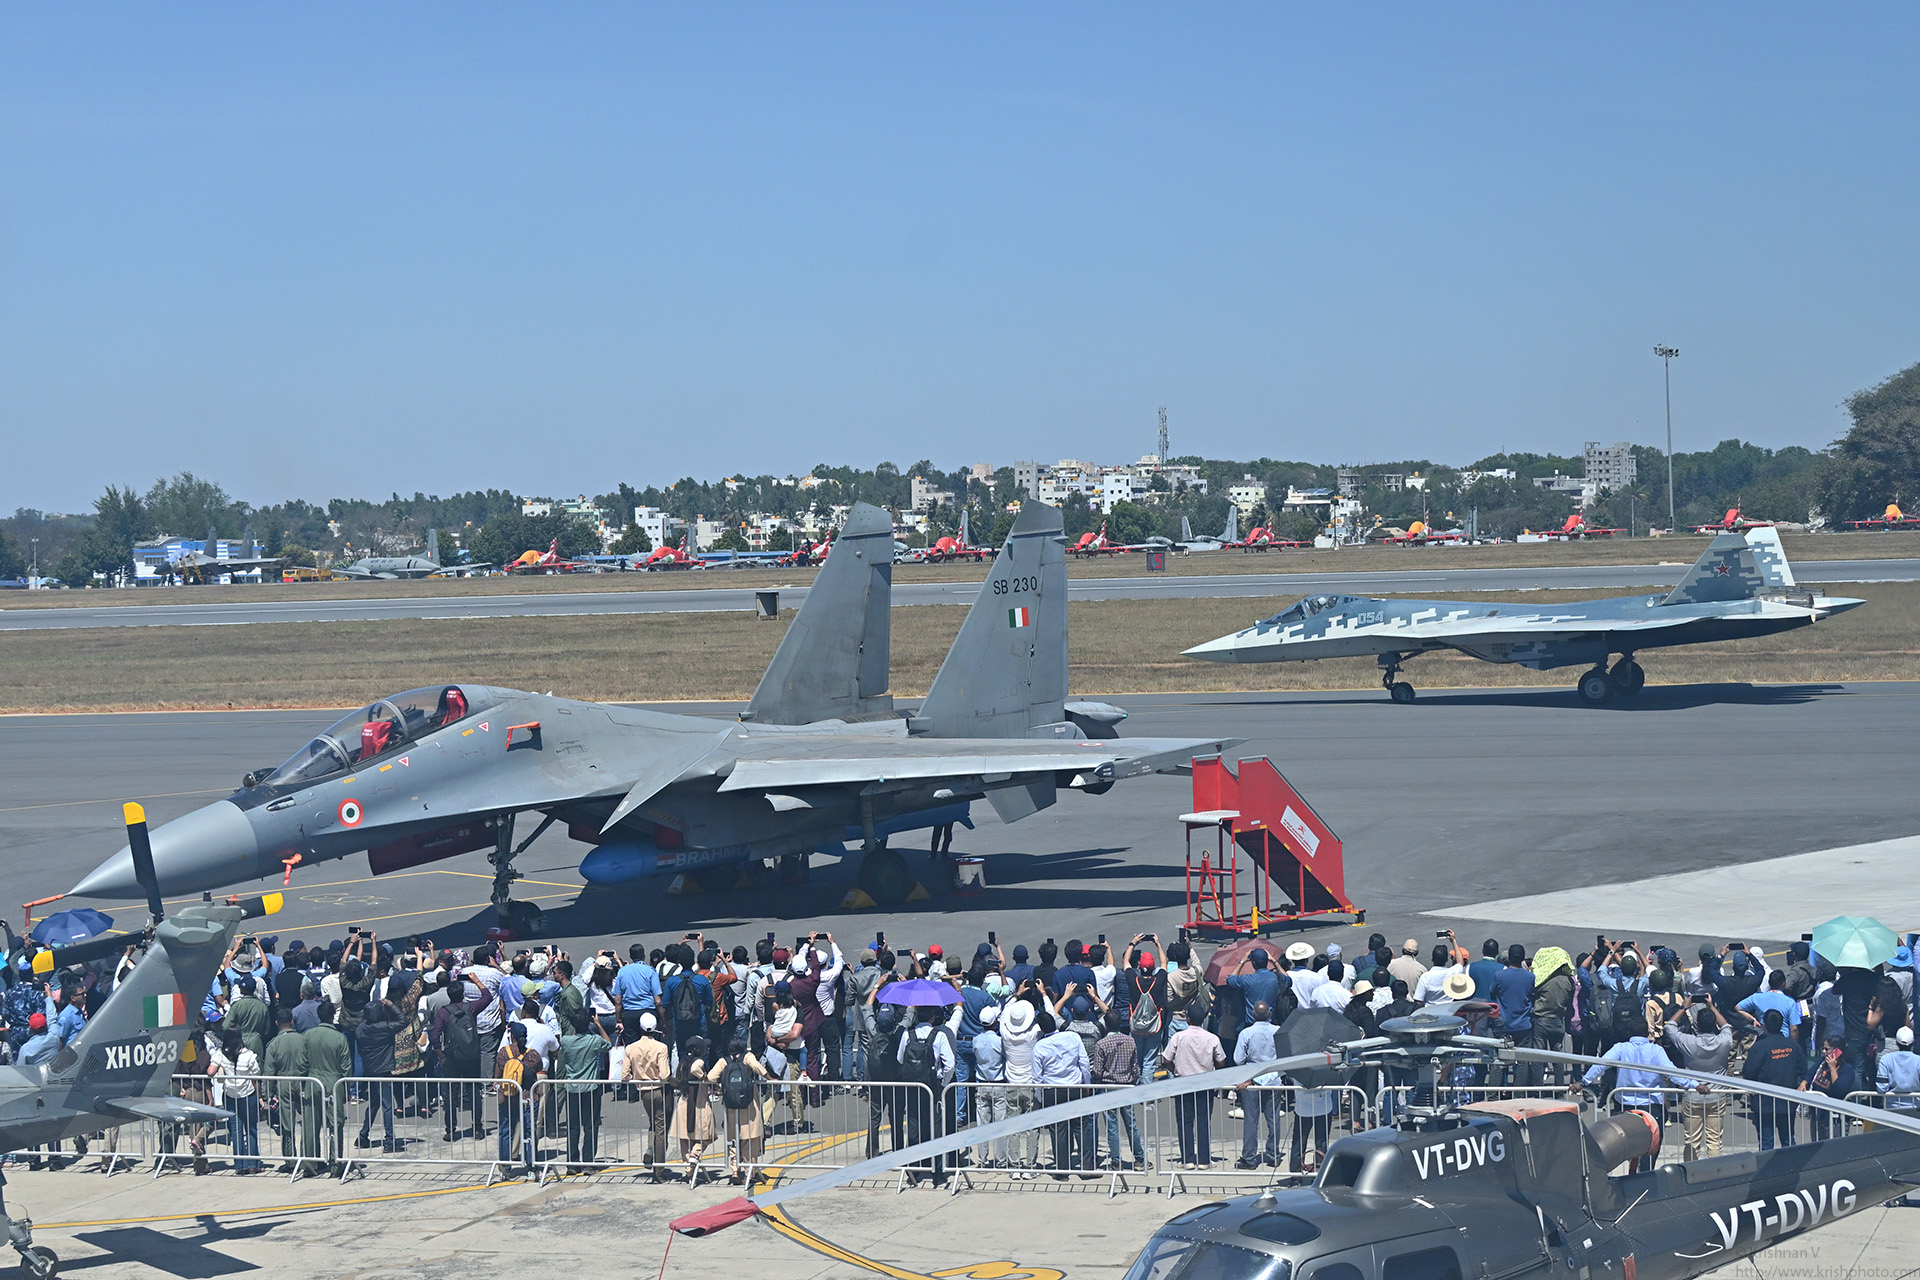
This Aero India 2025, I was able to manage only one day at the show. My main attraction was the flying display Sukoi 57 , NATO codename “Felon”. Gee
The honking woke me up from my dream where I was drilling down in wireshark looking for some cryptographic key information. It had been a while since I had vent
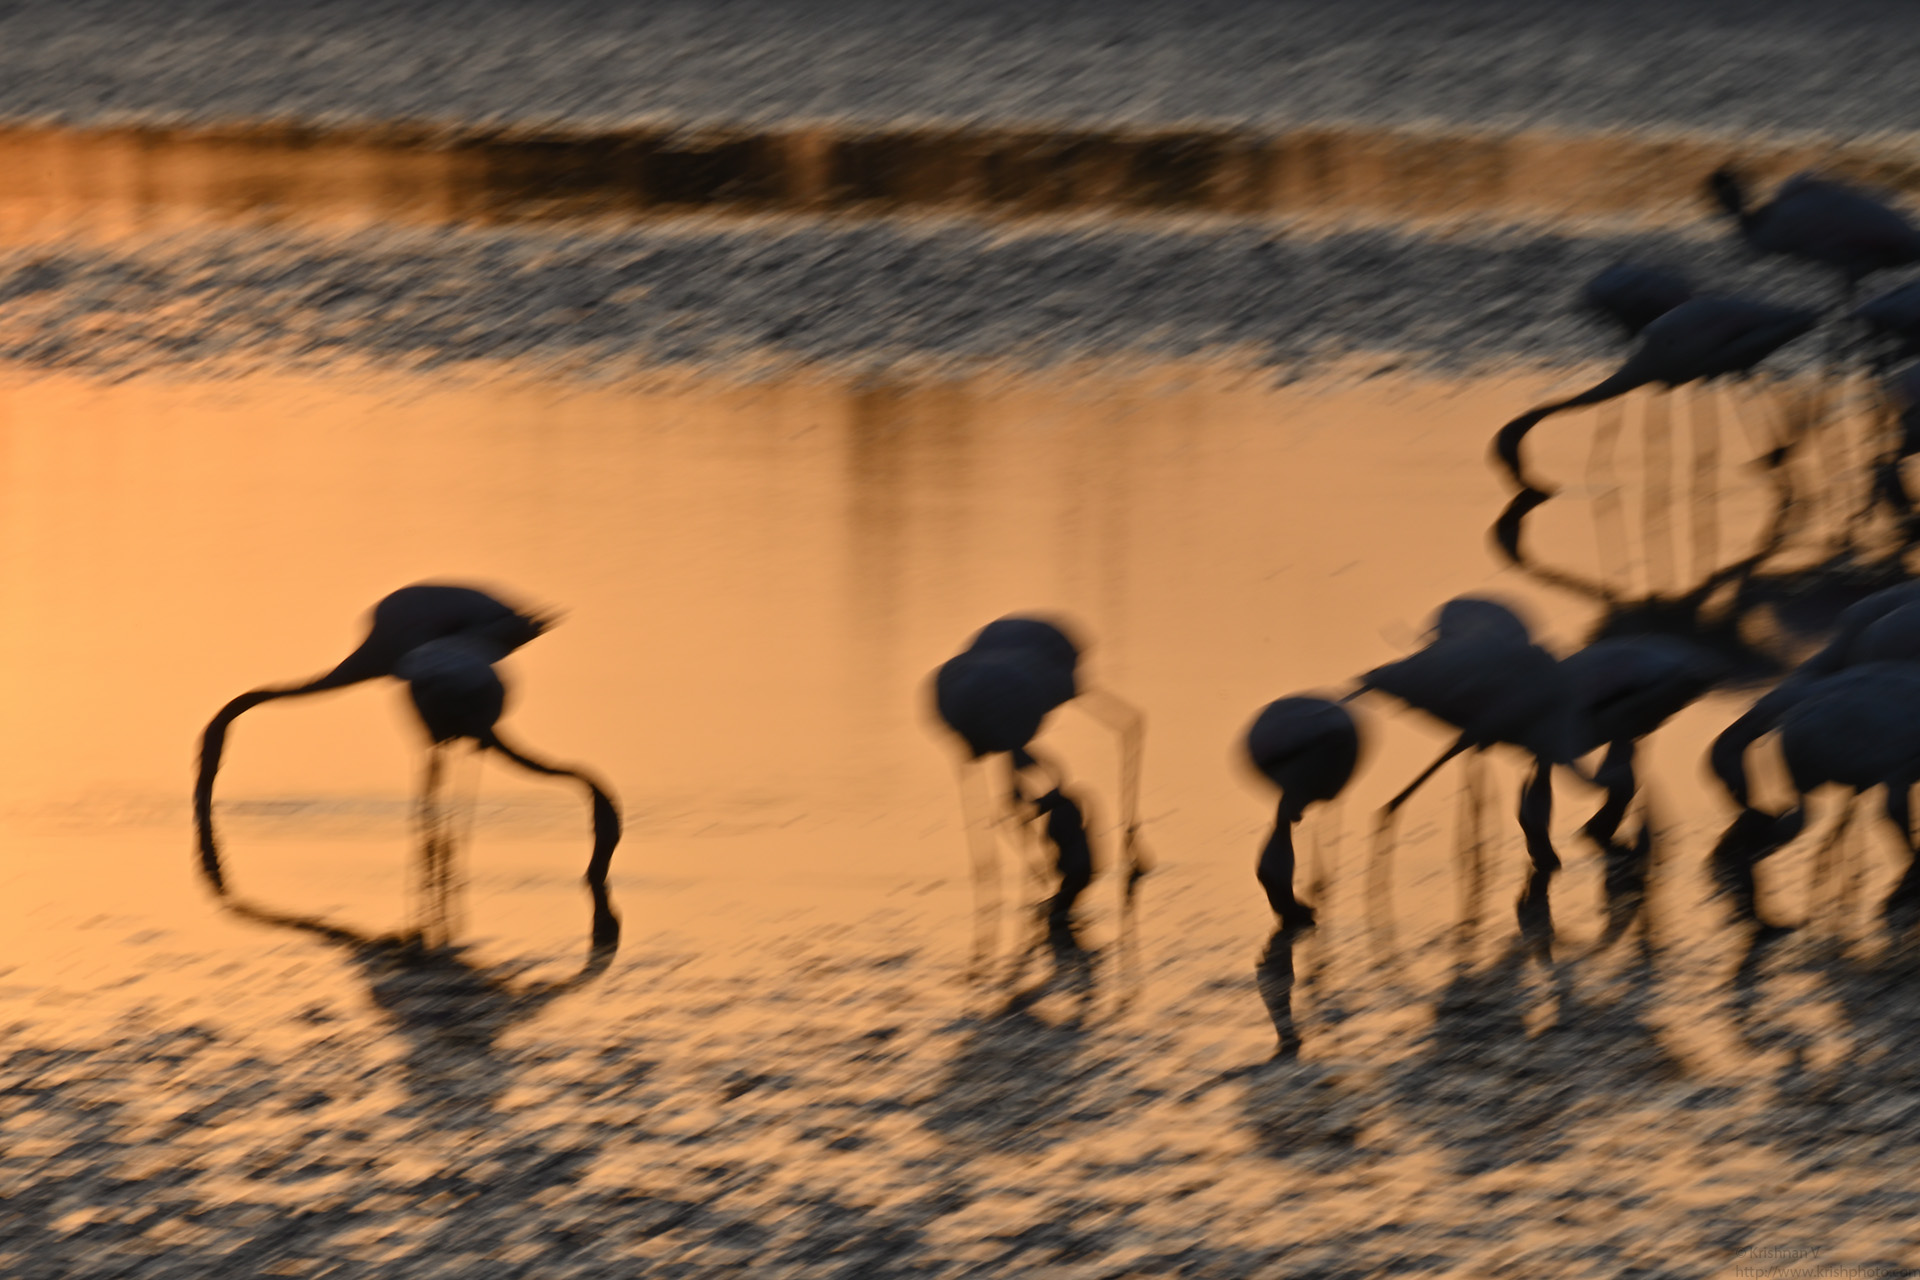
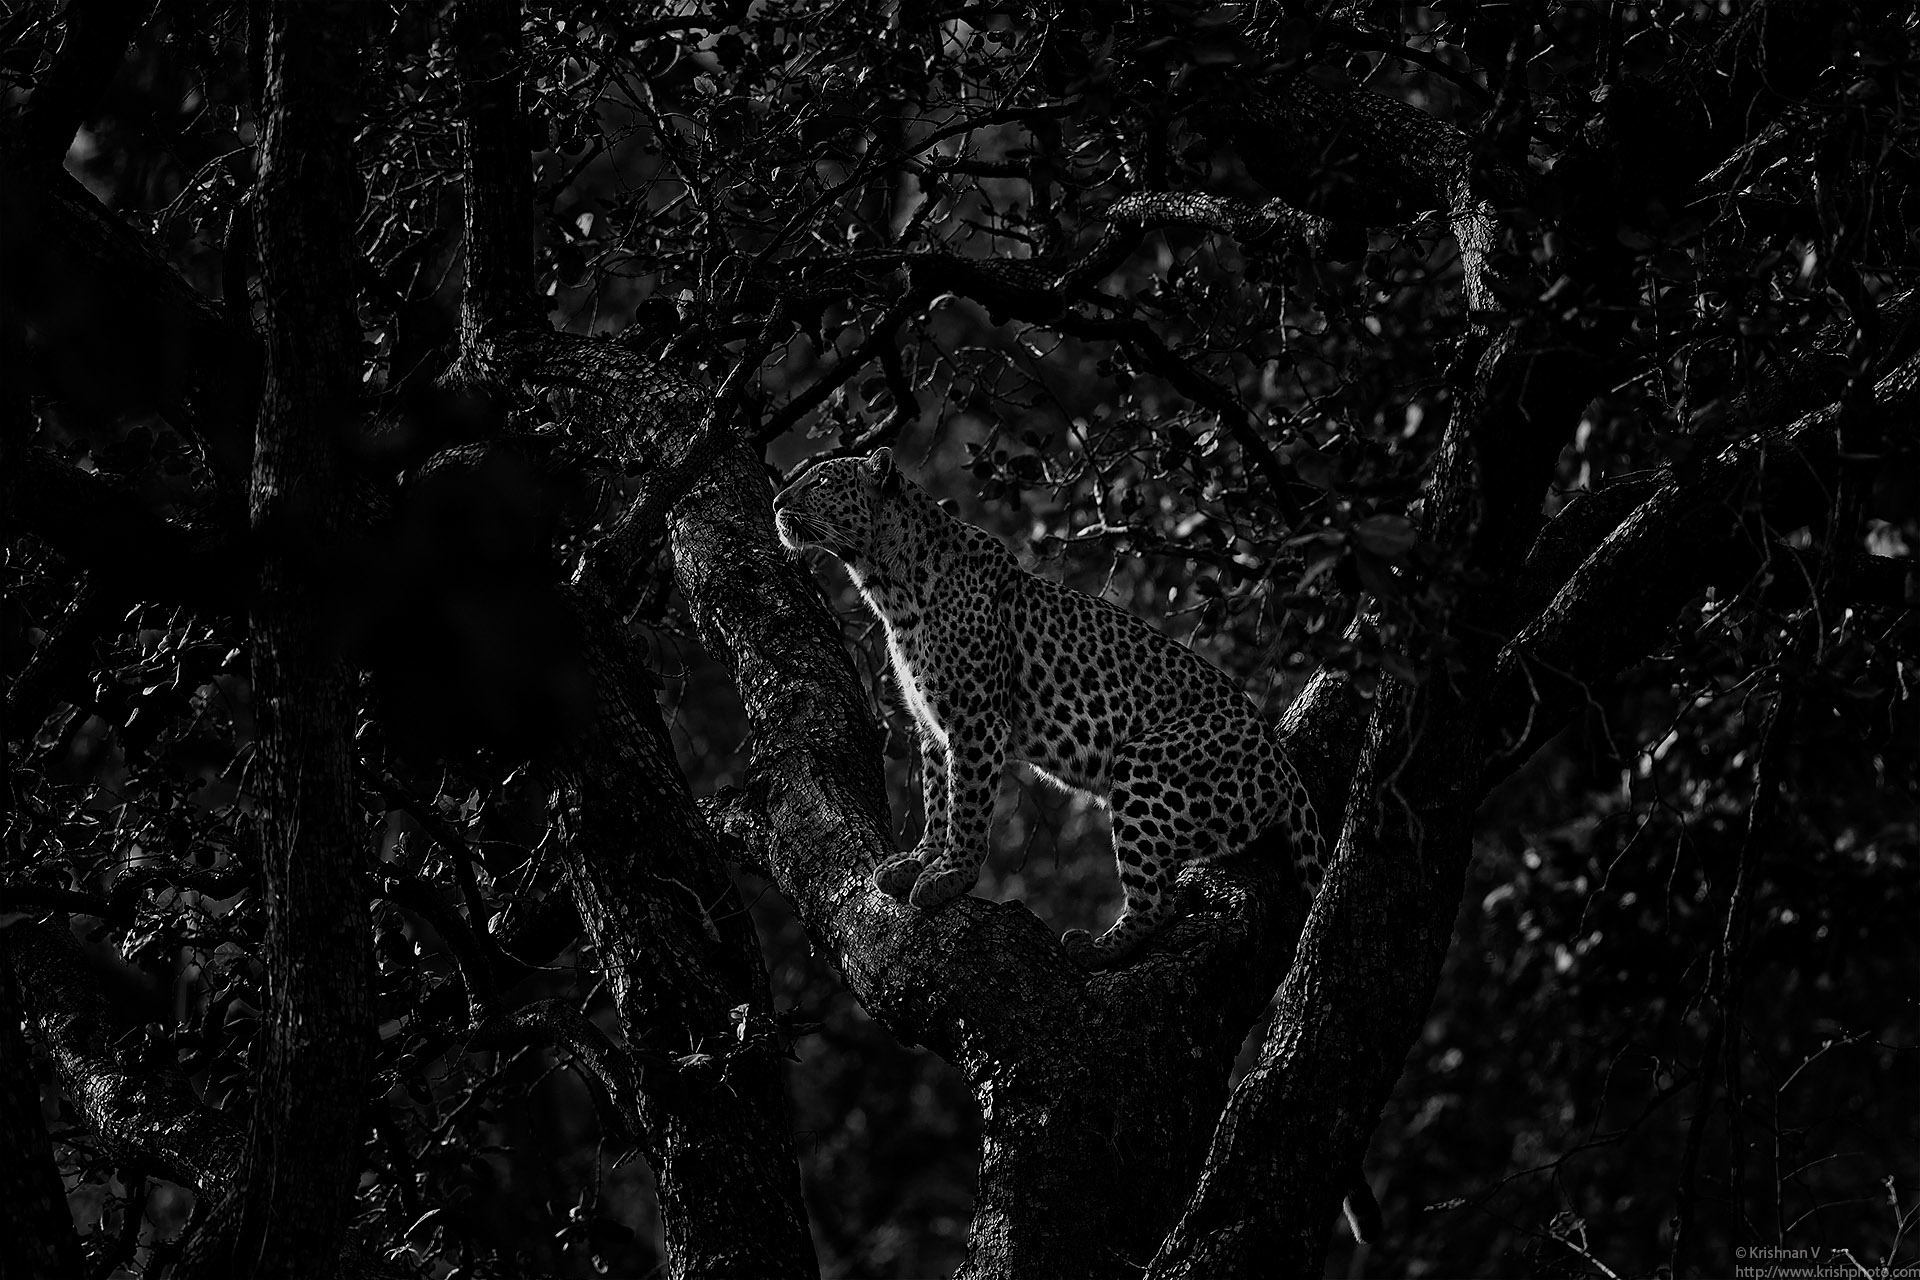
Hide Location My fav shots happen when I am waiting on the location. This one below is one The exit from the nest shots are hard. The left/ first image is shot

Pulled out my 600m FL after a long time and shot a few parakeets from my balcony. After uploading all the pics to my computer I saw the time and date had reset
Its been a long break in birding. My last “outing” was to Karnala for the Heart Spotted Woodpecker , in Jan 2024. Five months and no birding or natu
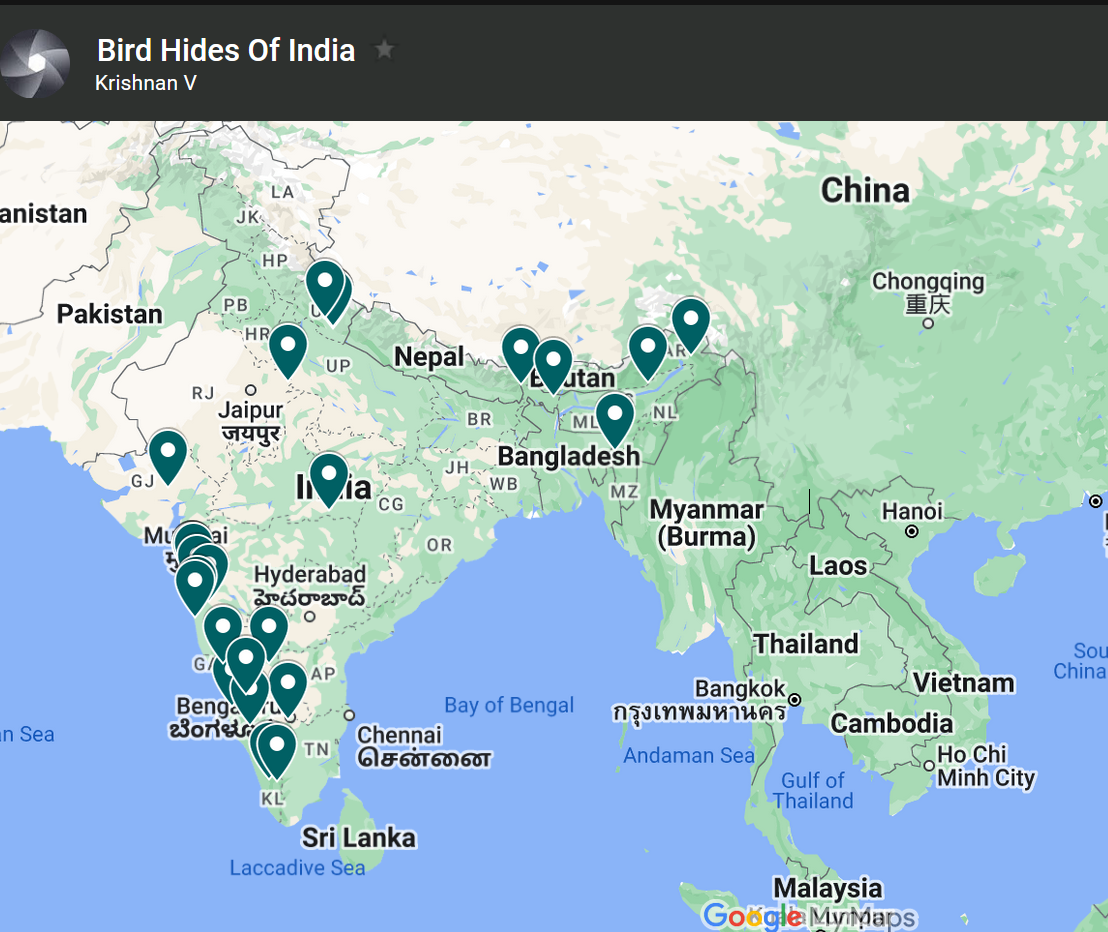
Ive been wanting to do this map for a while now. I am not aware of one place where on can get this information. So here goes. Here is the list of places you can
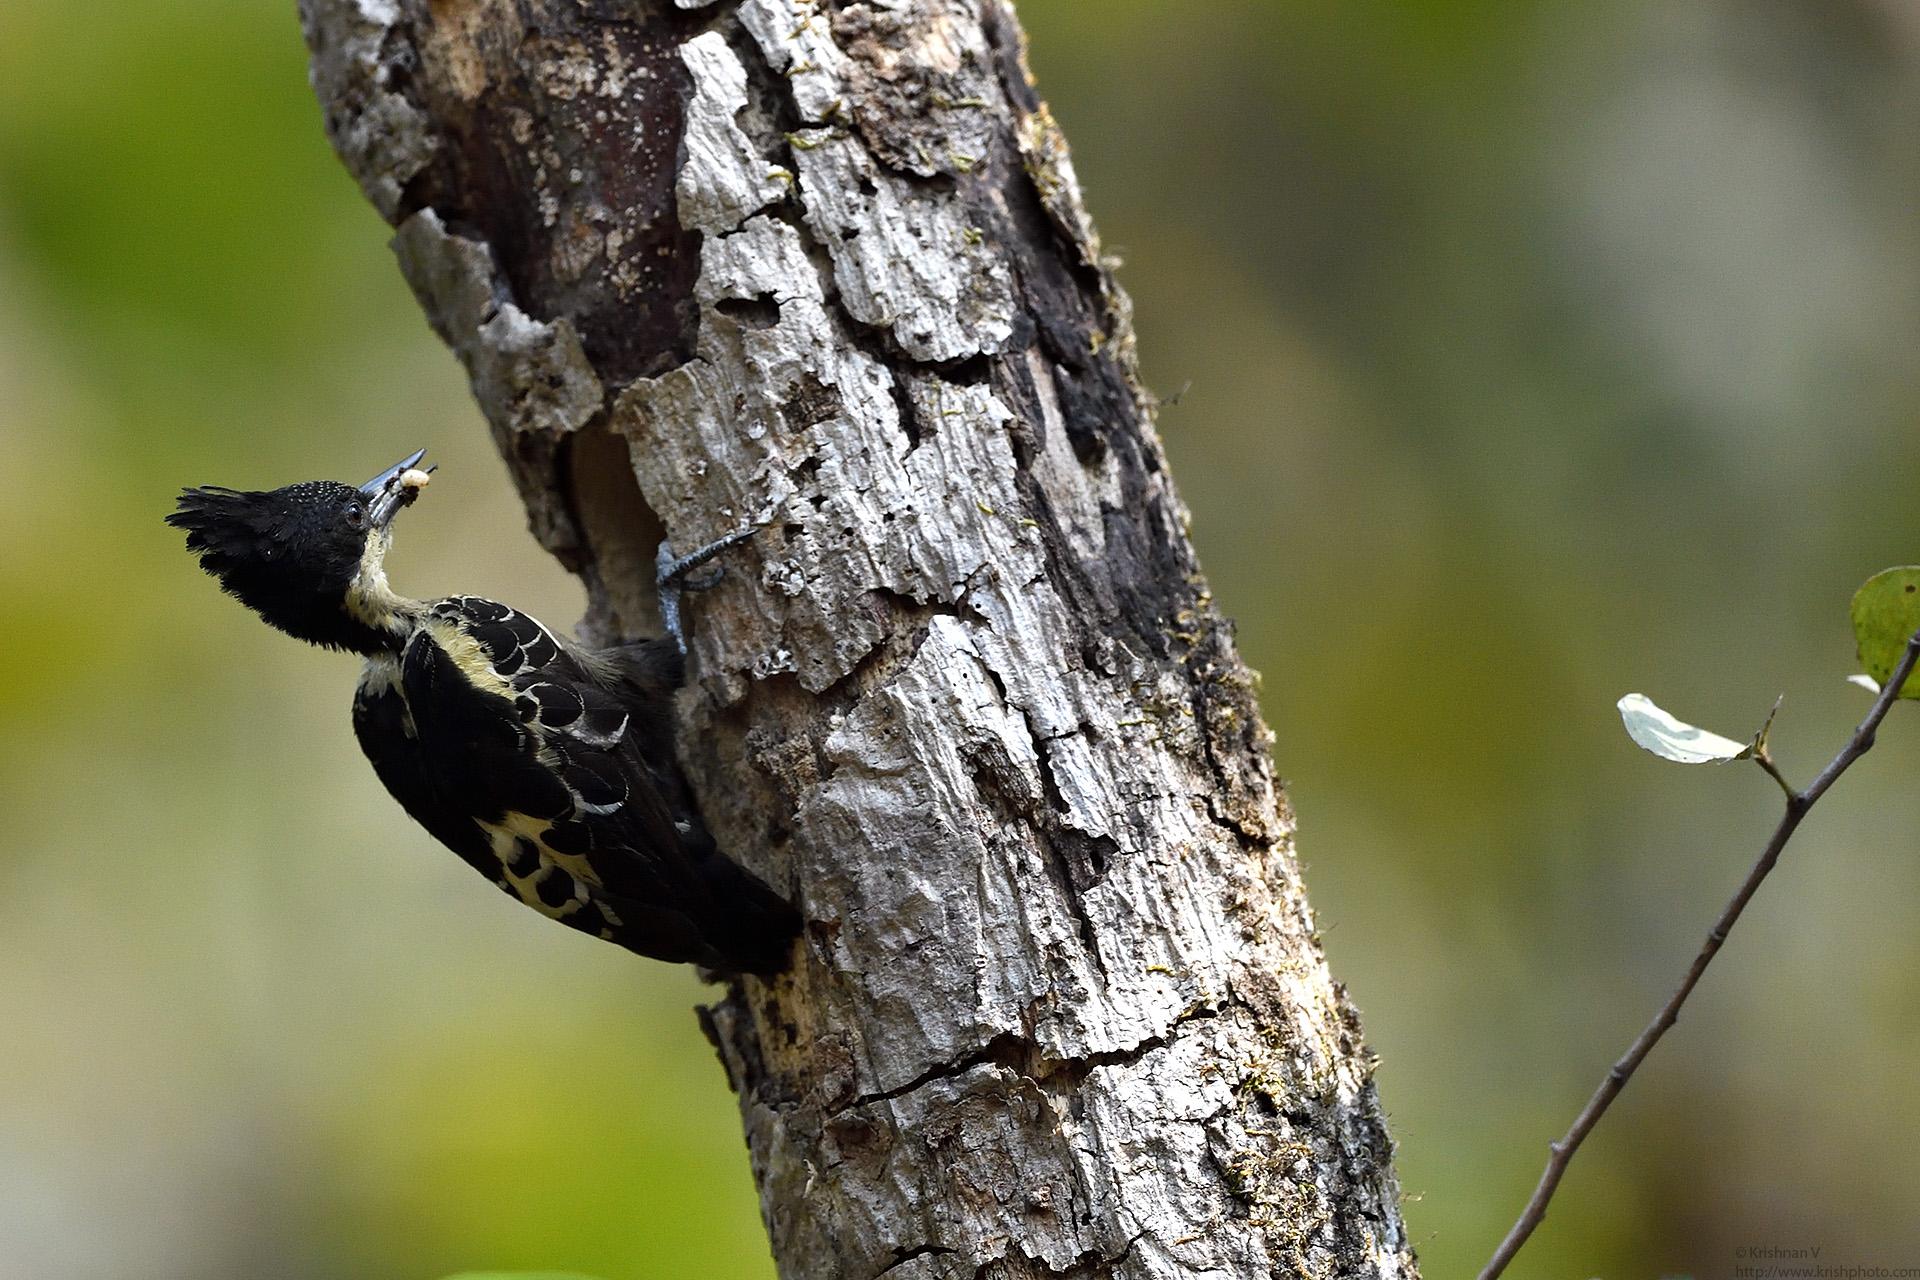
My first Heart Shaped Woodie was in Dandeli on my first ever trip, sometime in 2008. Since then I hadn’t got a chance to see this beauty up close, until n
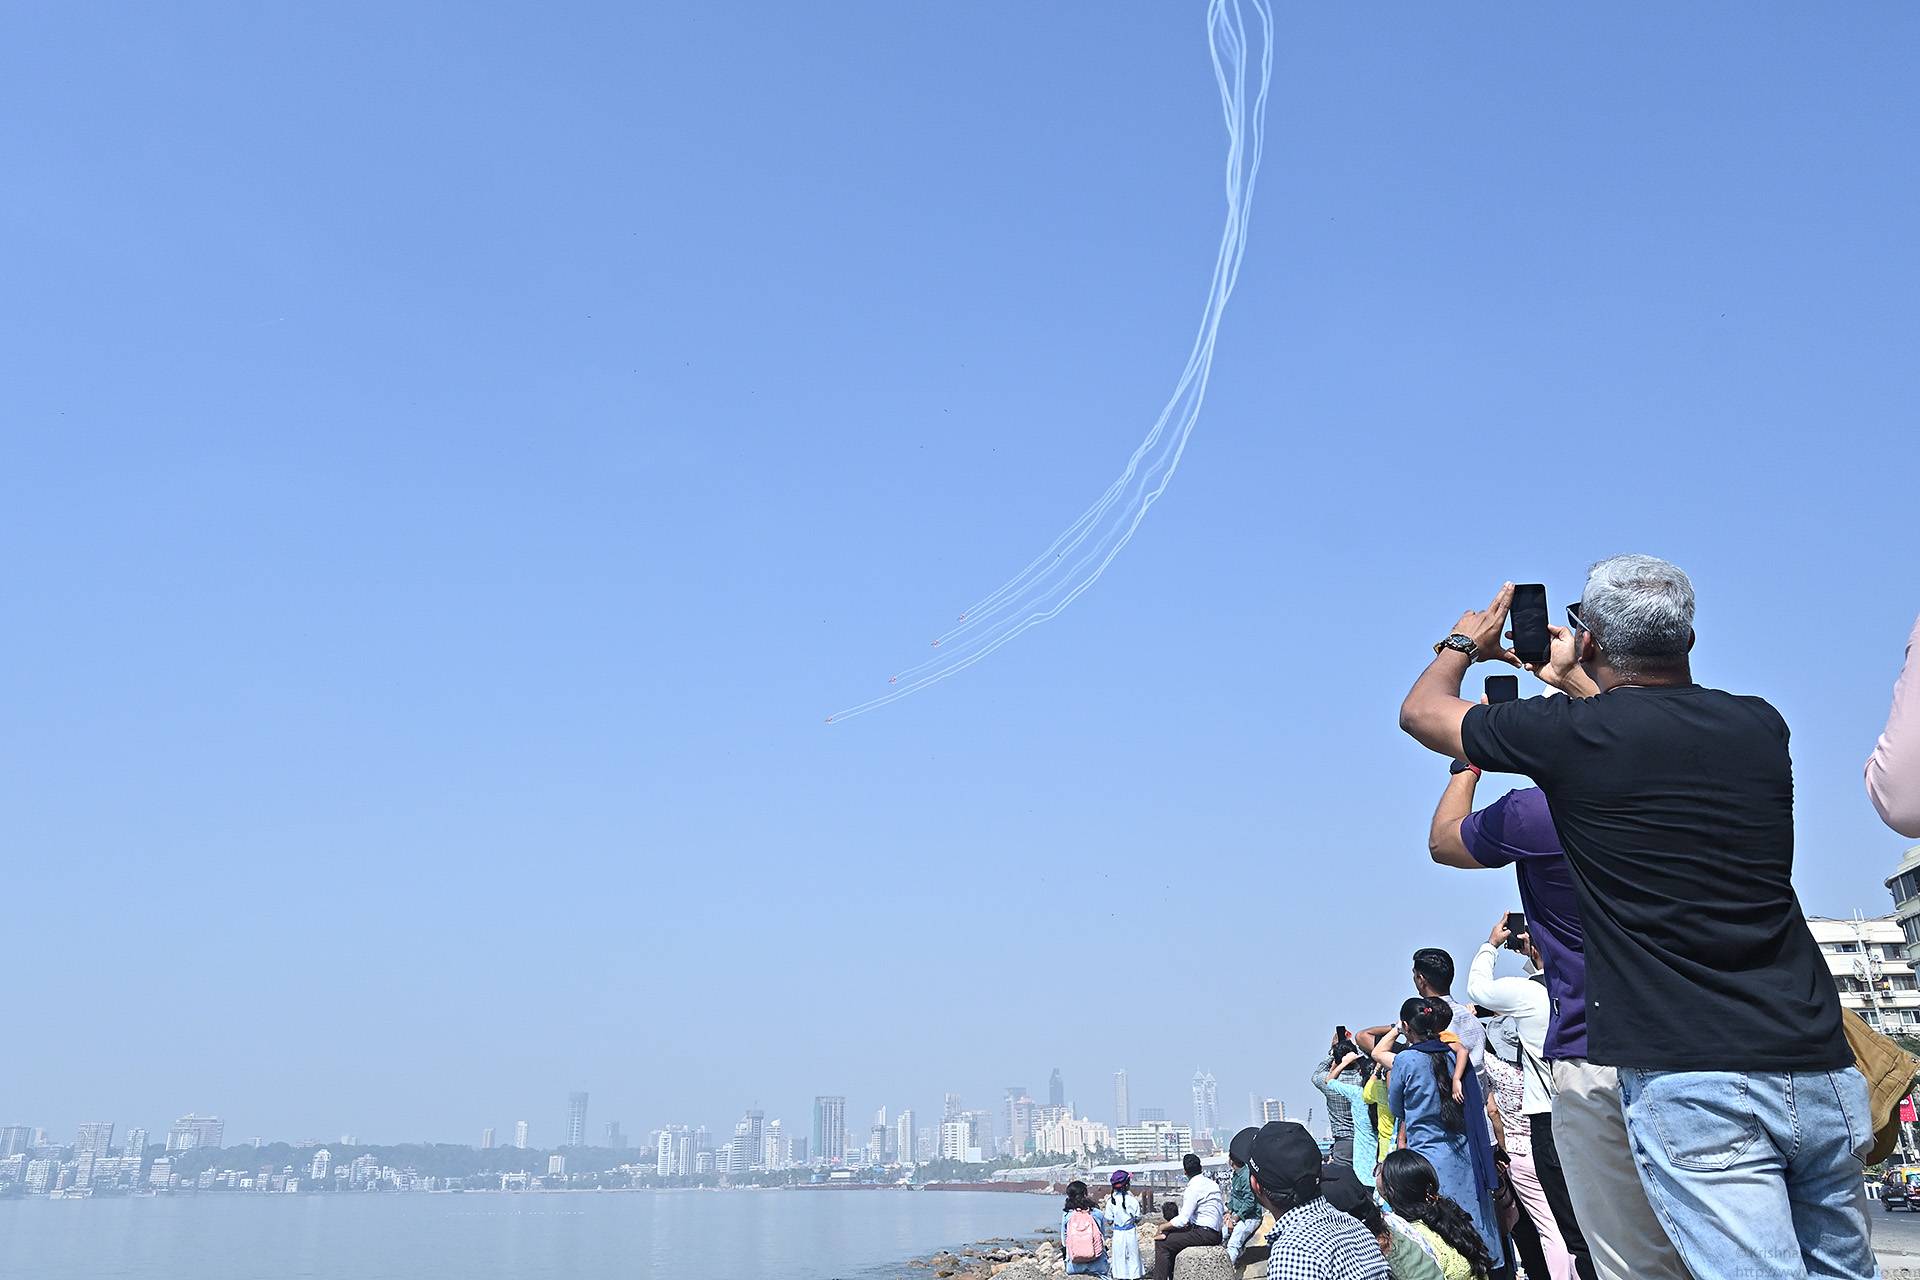
Aeroshow here in Mumbai after some 15 years The jet aerobatics Suryakiran team (the aircraft is the BAE Hawk) , the helicopter aerobatics Sarang team ( aircraft

I recently tried the SB 800 speedlite flash to work wirelessly with my Nikon Z50 mirrorless. The setup is like this Pop up the flash on the Nikon Z50, Burst mod
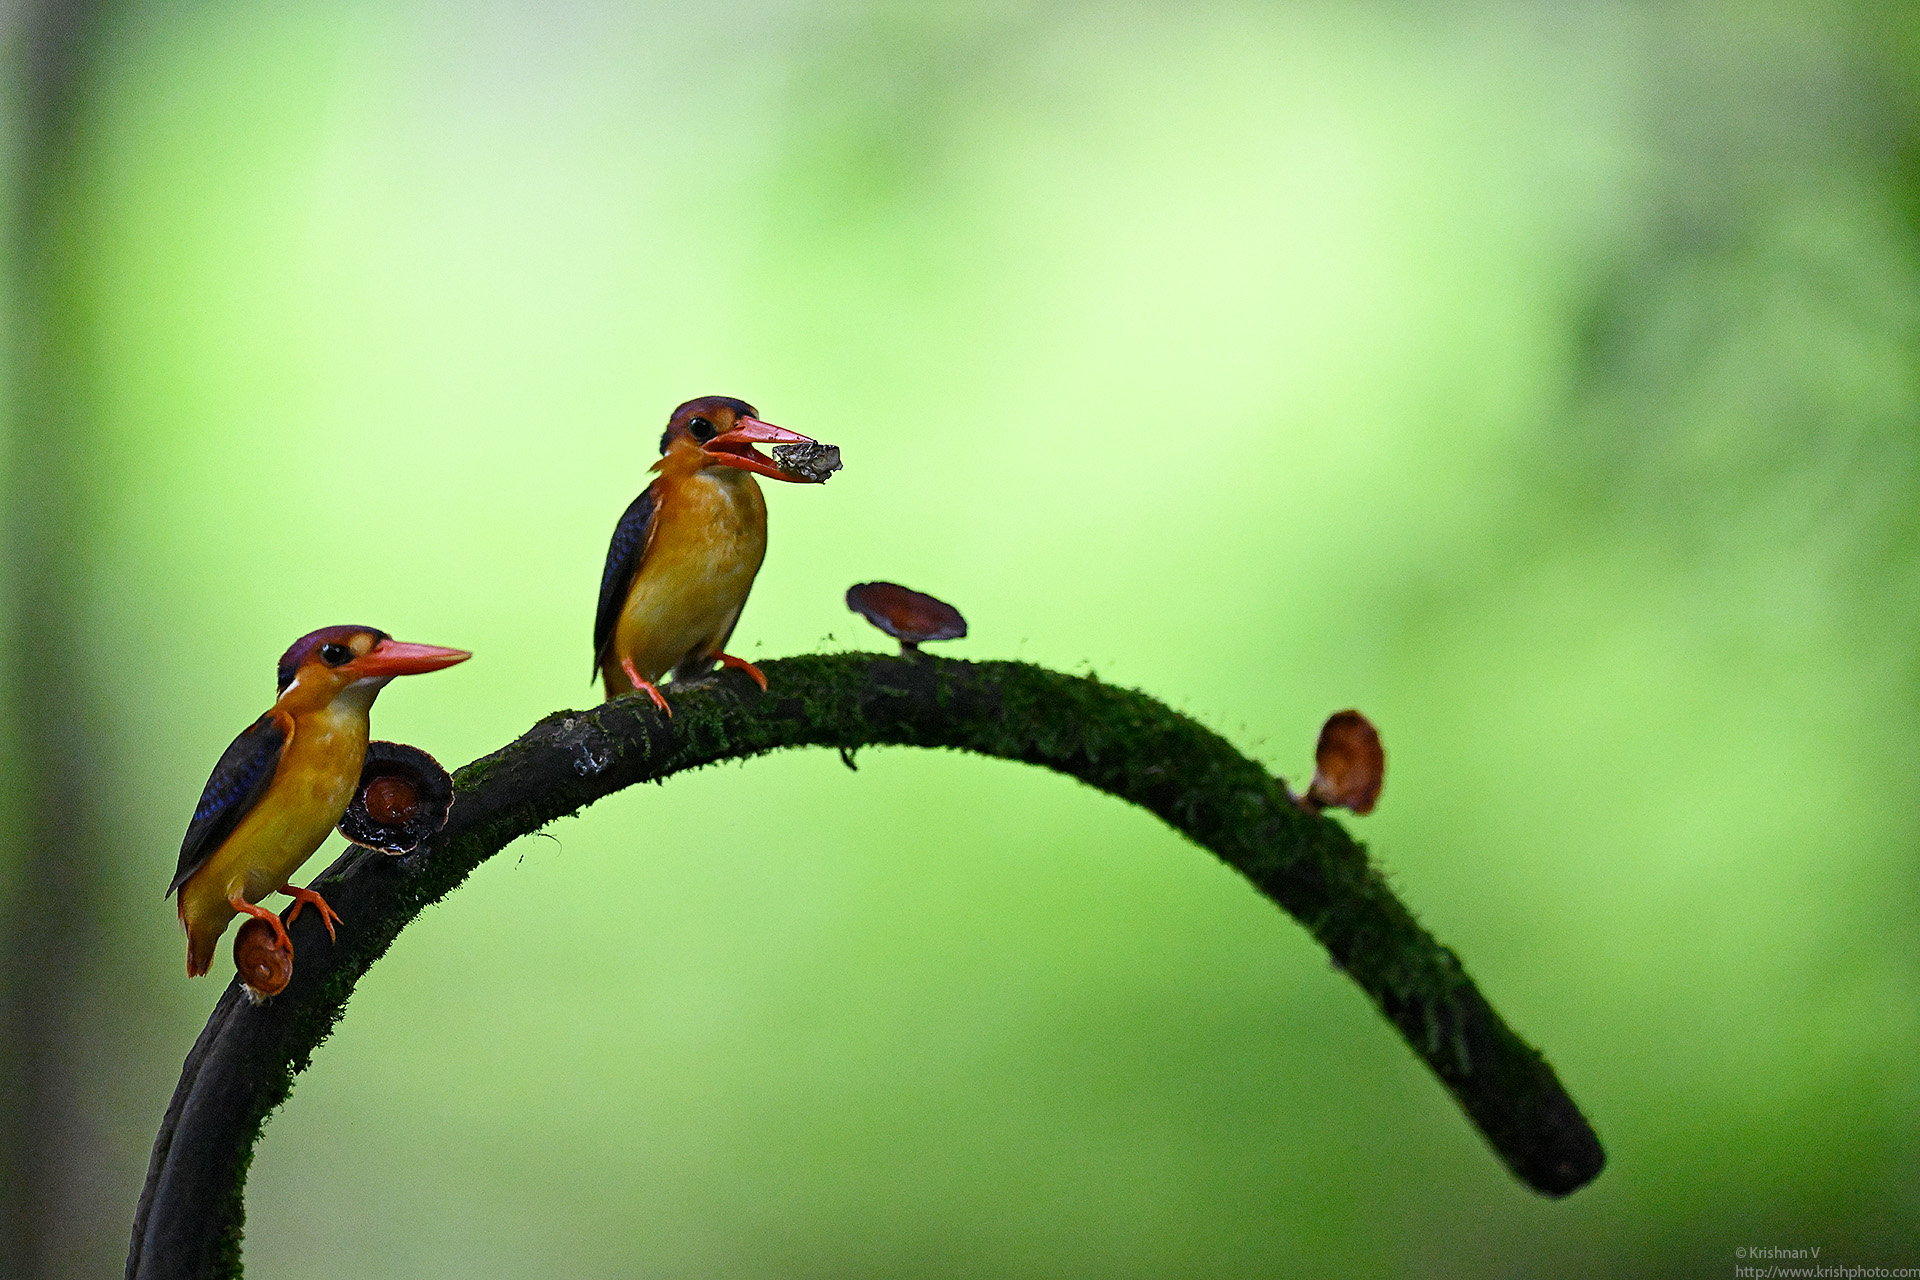
We broke a rather long hiatus of not going out chasing birds by taking a trip to Karnala to get some Oriental Dwarf Kingfisher shots. The location was a small s
Pulled out my long lens after a very long while and grabbed a few parkeets from my balcony FacebookTwitterLinkedIn
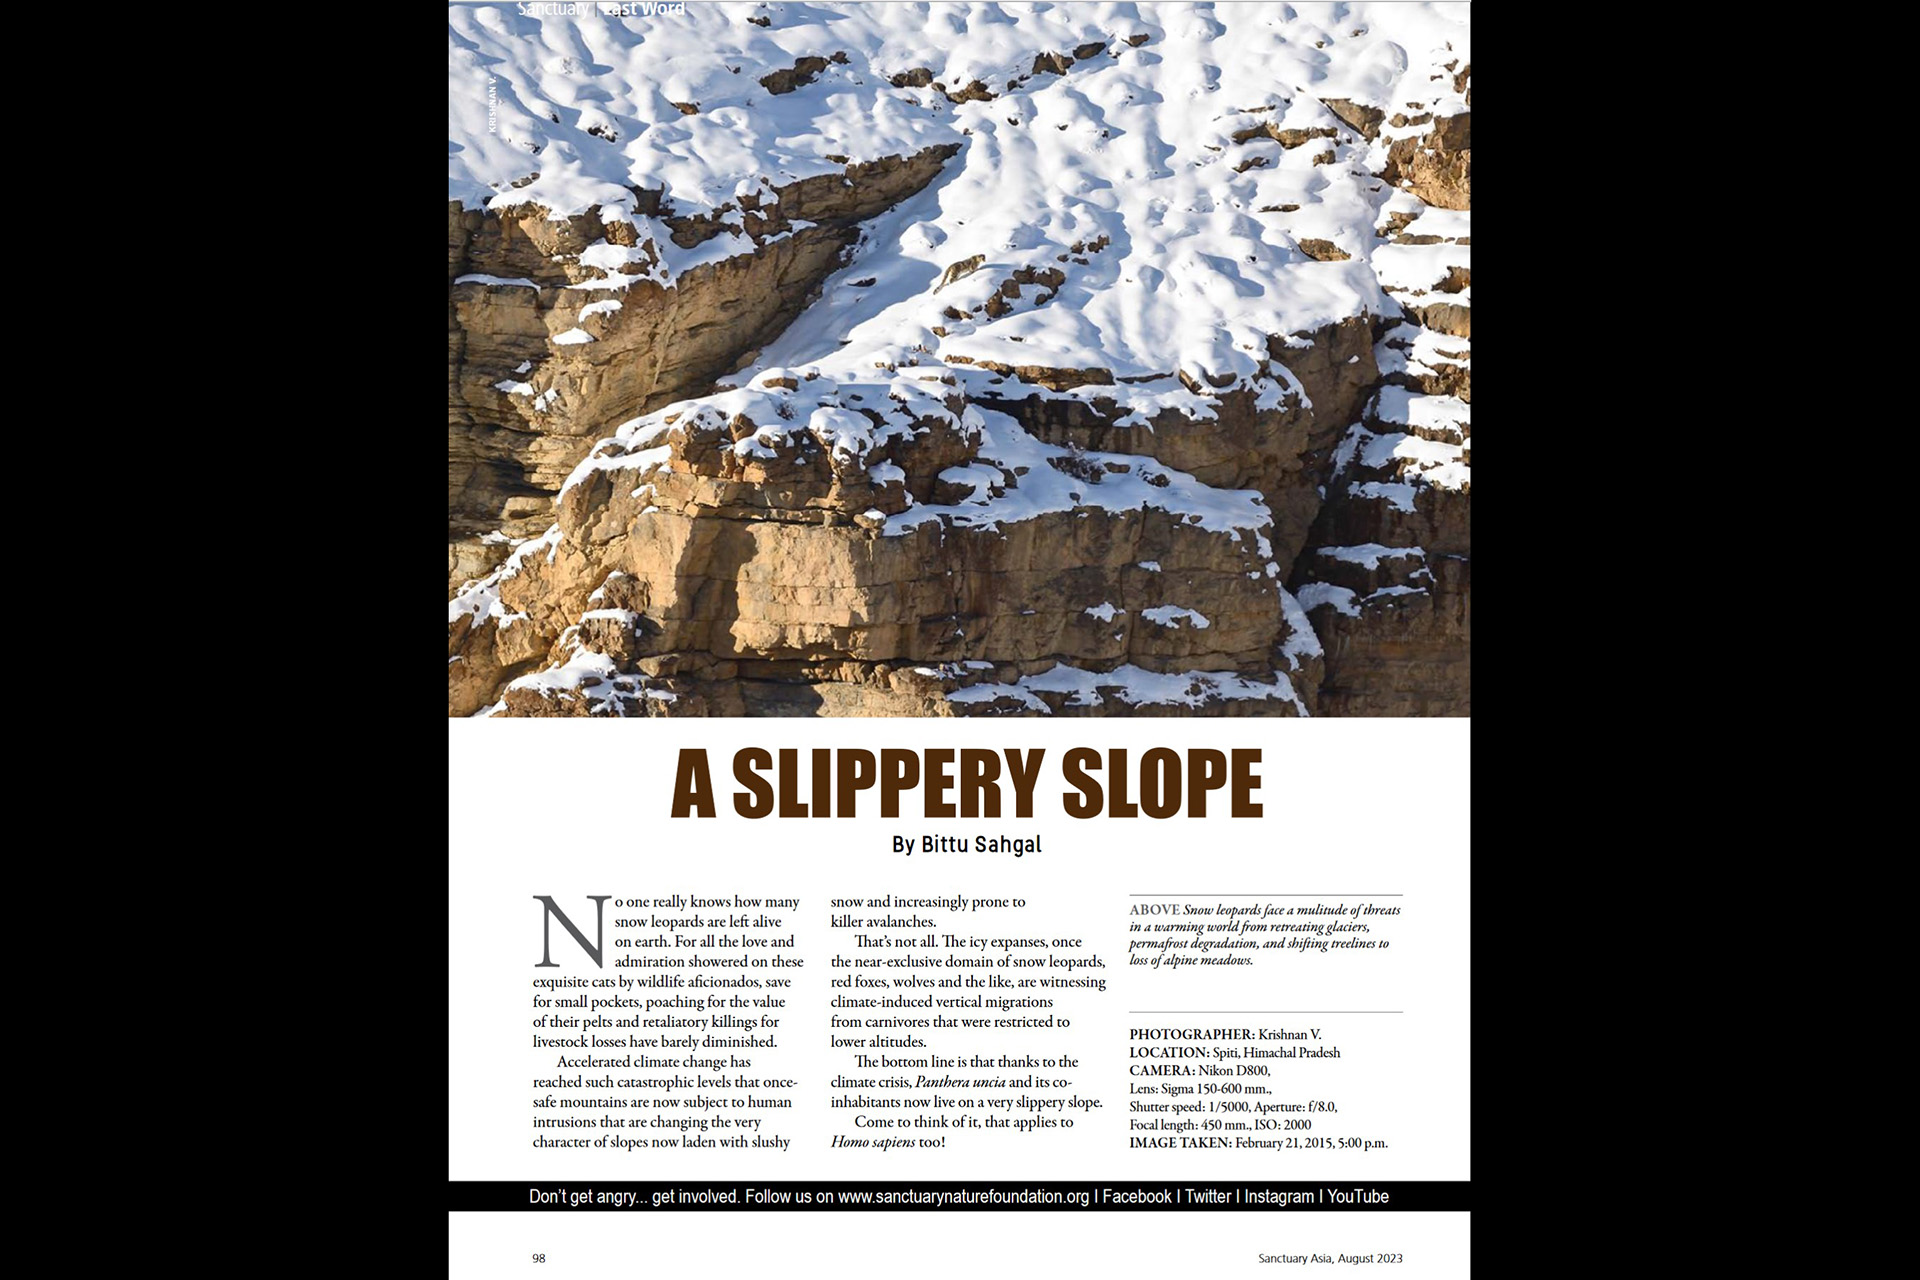
Check page 98 for my snow leopard picture ! Sanctuary Asia August 2023 issue FacebookTwitterLinkedIn
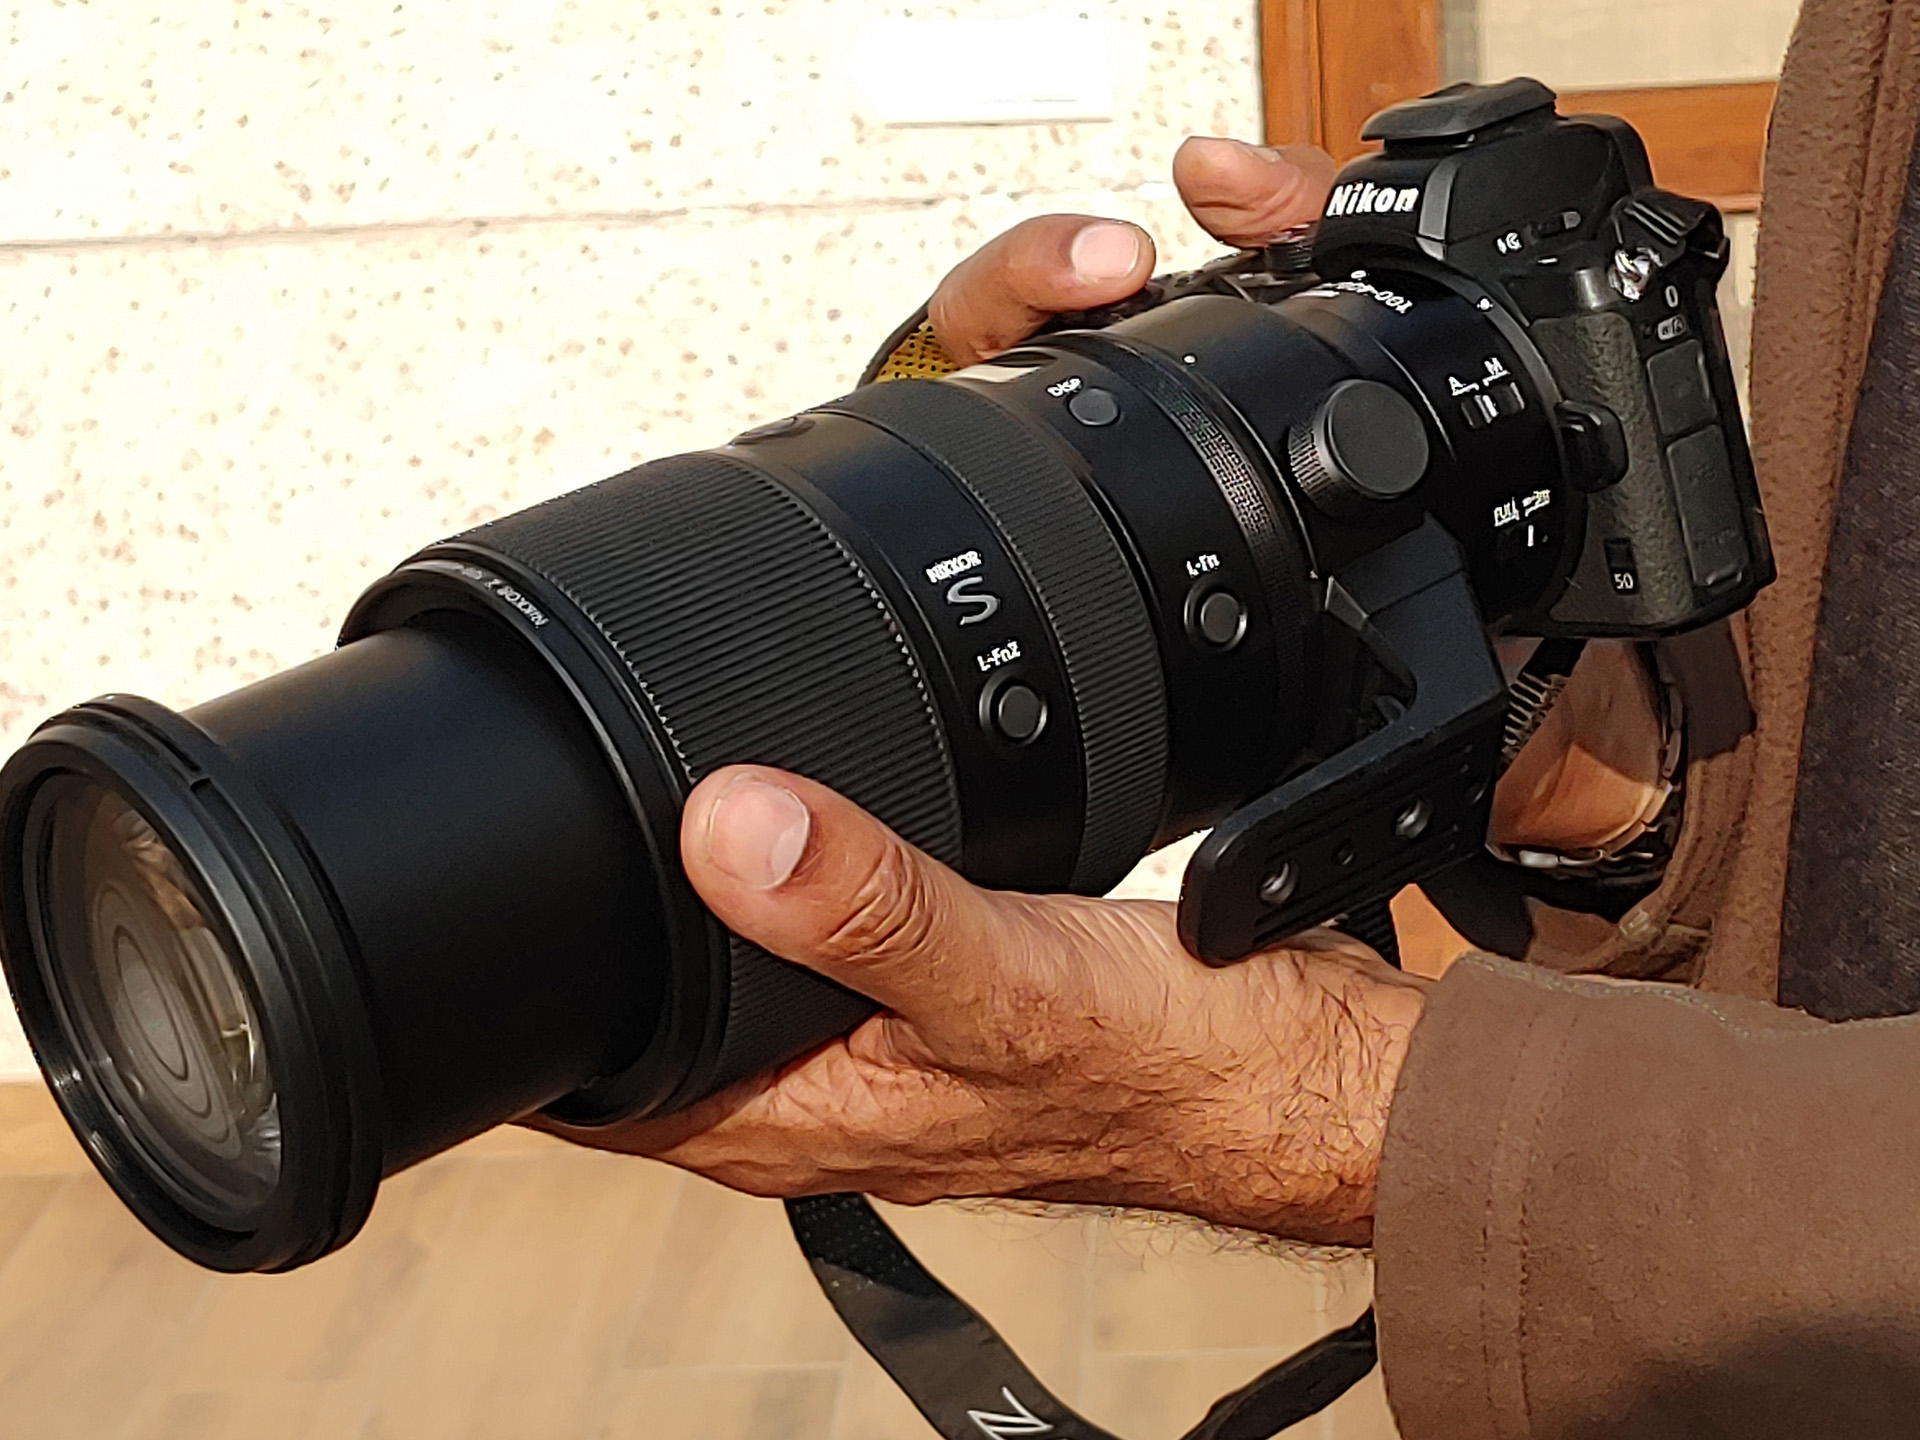
Early Dec 2022, I was on a trip to Delhi. Kishore had just ordered his Z9 and a 100-400Z lens. He was already using the old 80-400mm F lens so that was there to
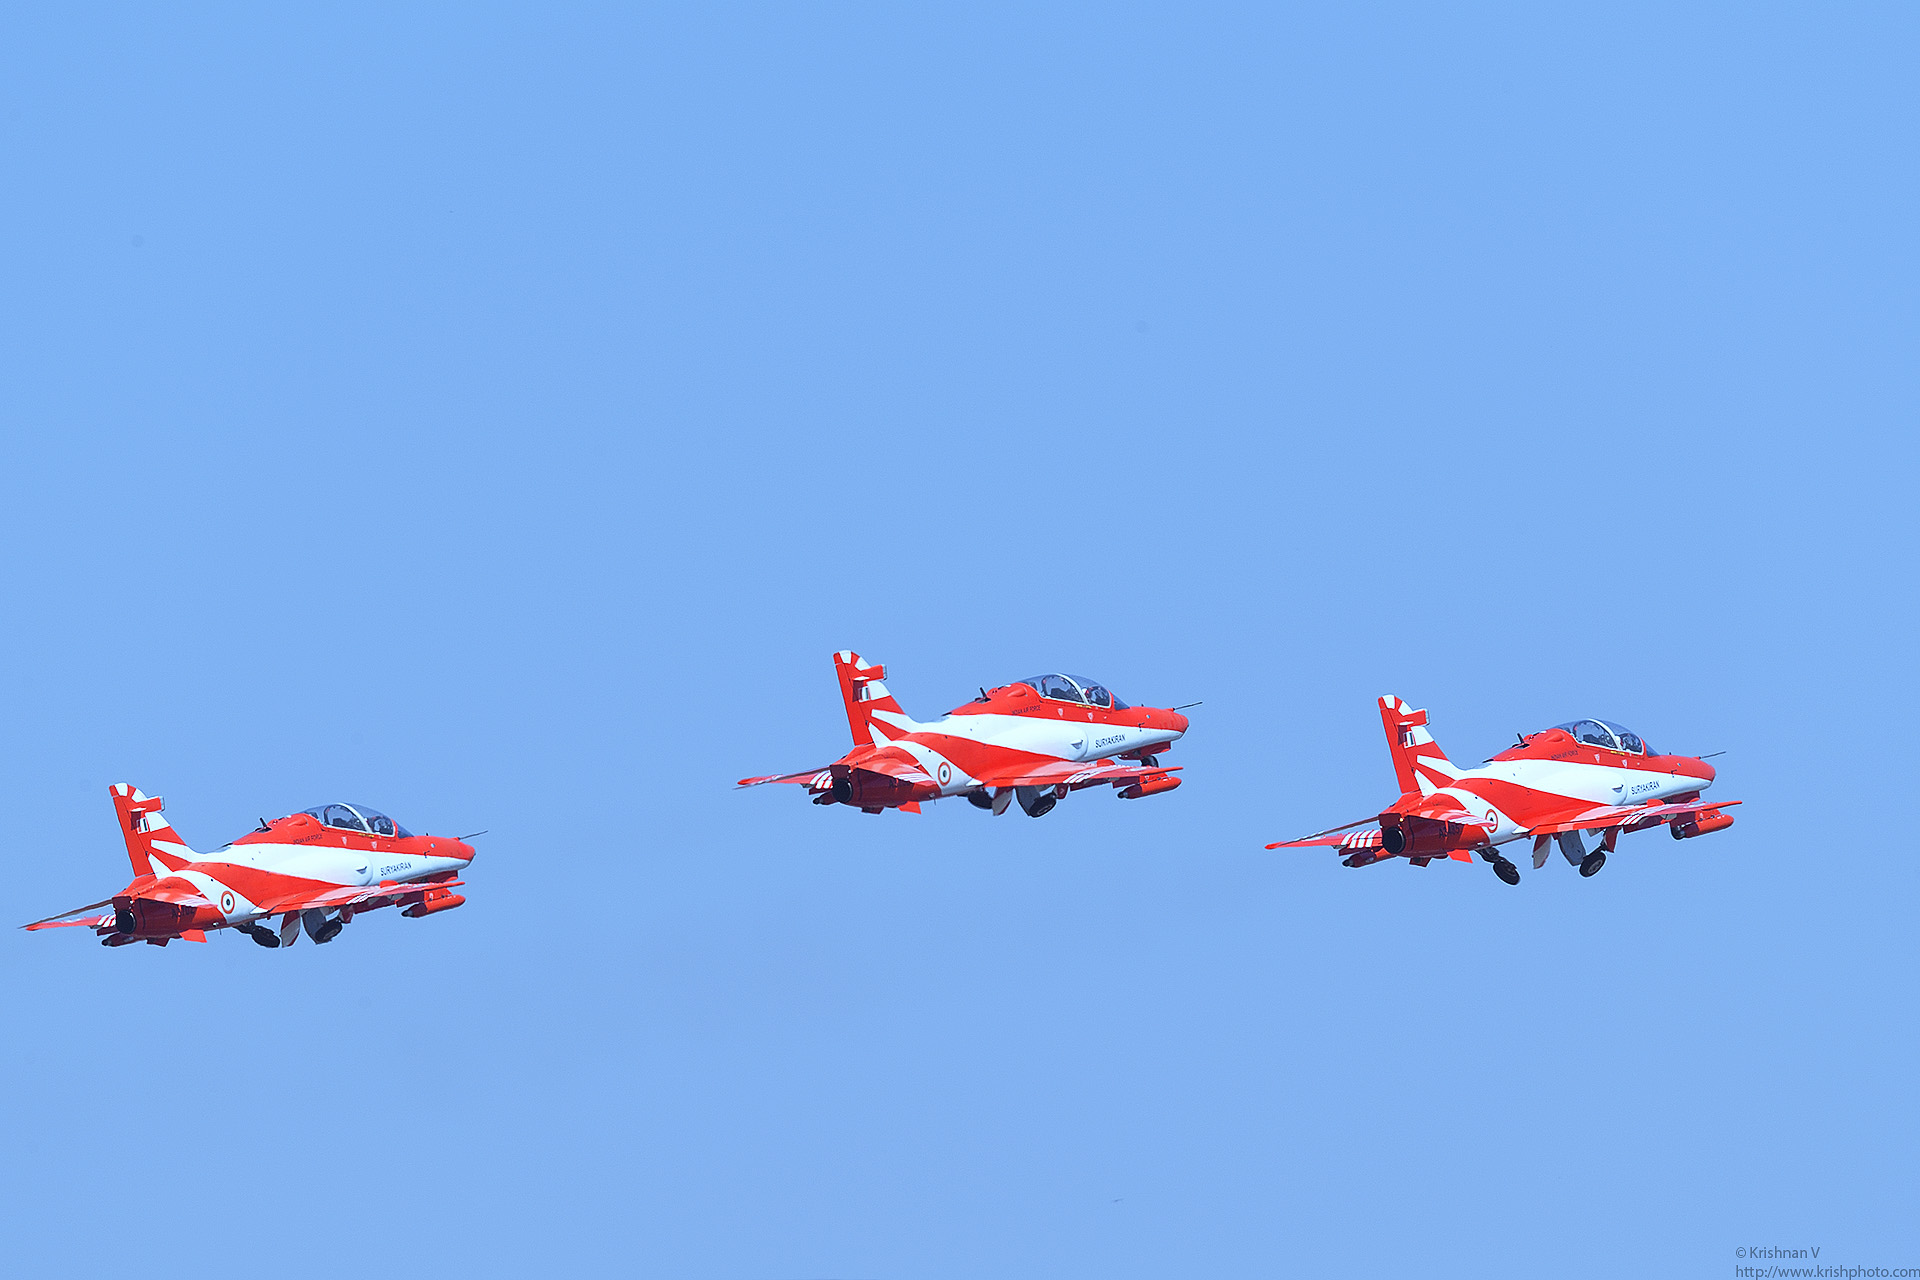
Air Show Photography Tips Here are the pics from this years show FacebookTwitterLinkedIn
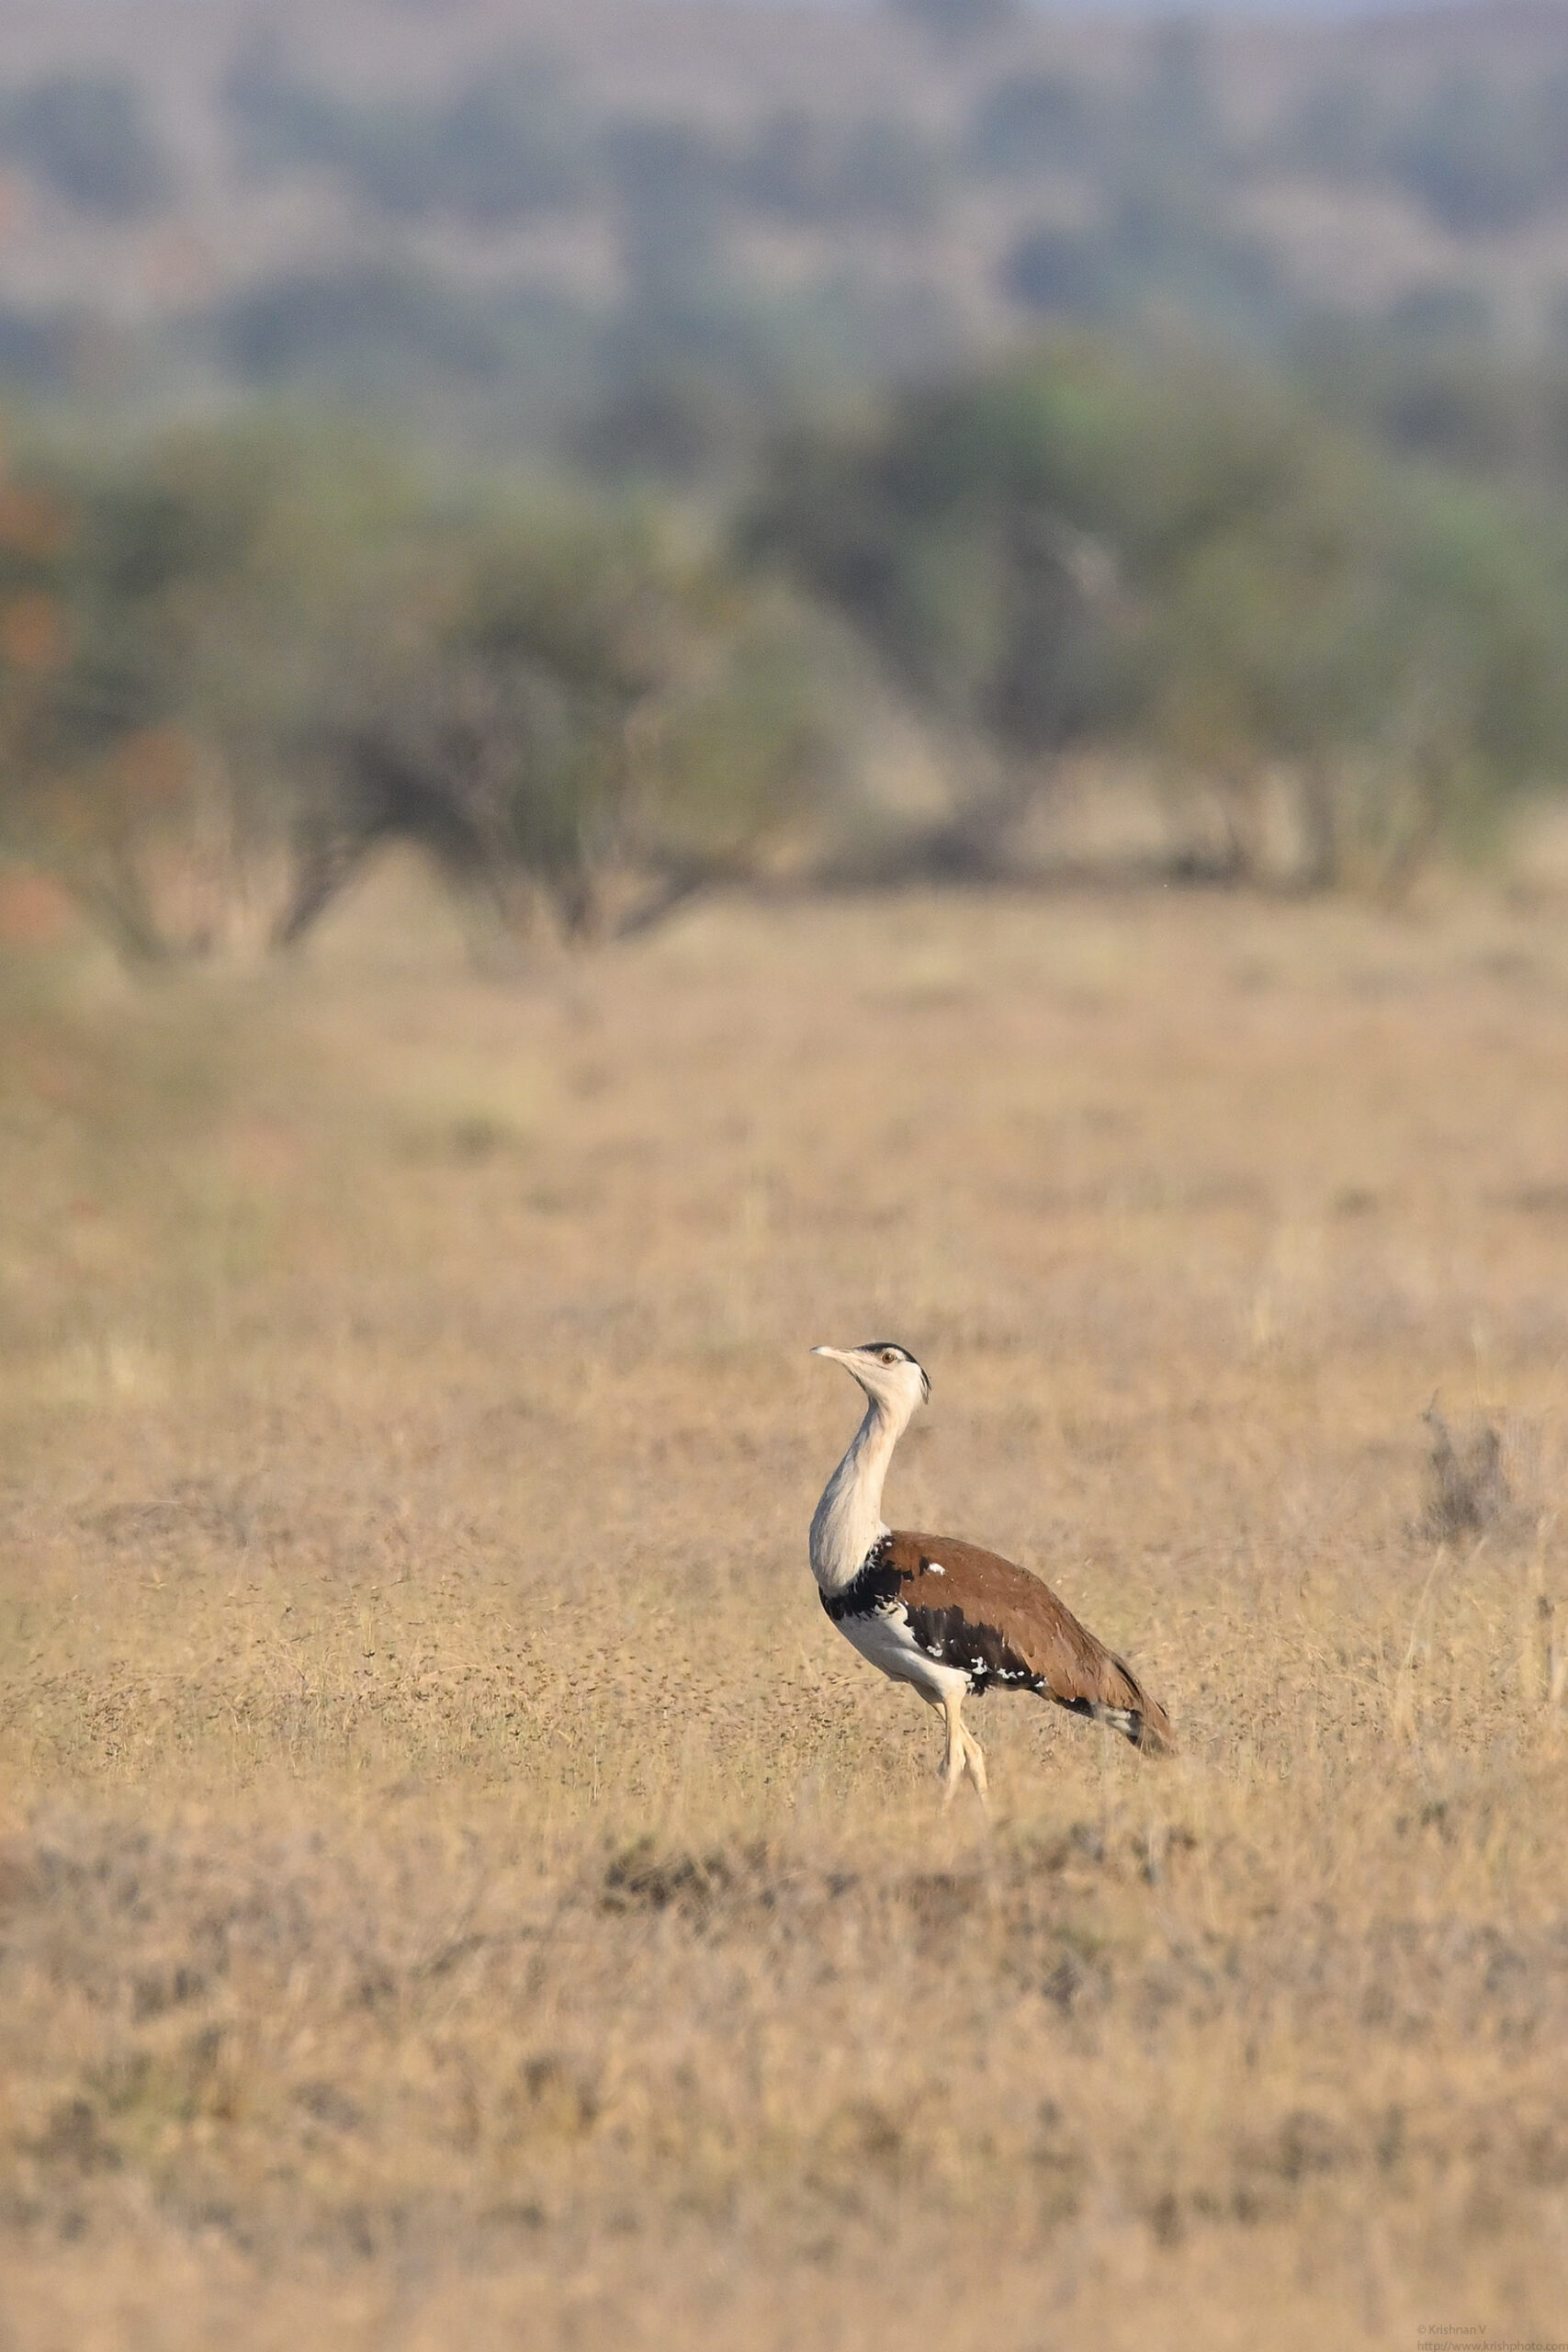
Musa was super confident that we will sight our first Great Indian Bustard (GIB) that morning. He had spotted on rather close to the fence the last evening. AS
The airbus 320 Neo touchdown at Jabalpur was super smooth, barely felt it. Getting out of the aircraft got into a quaint small terminal to collect our bags. Jab

The Mumbai birding group had a few pics of this wonderful bird and I asked if someone knew where to go and see this bird. The Great Hornbill has been on my list